
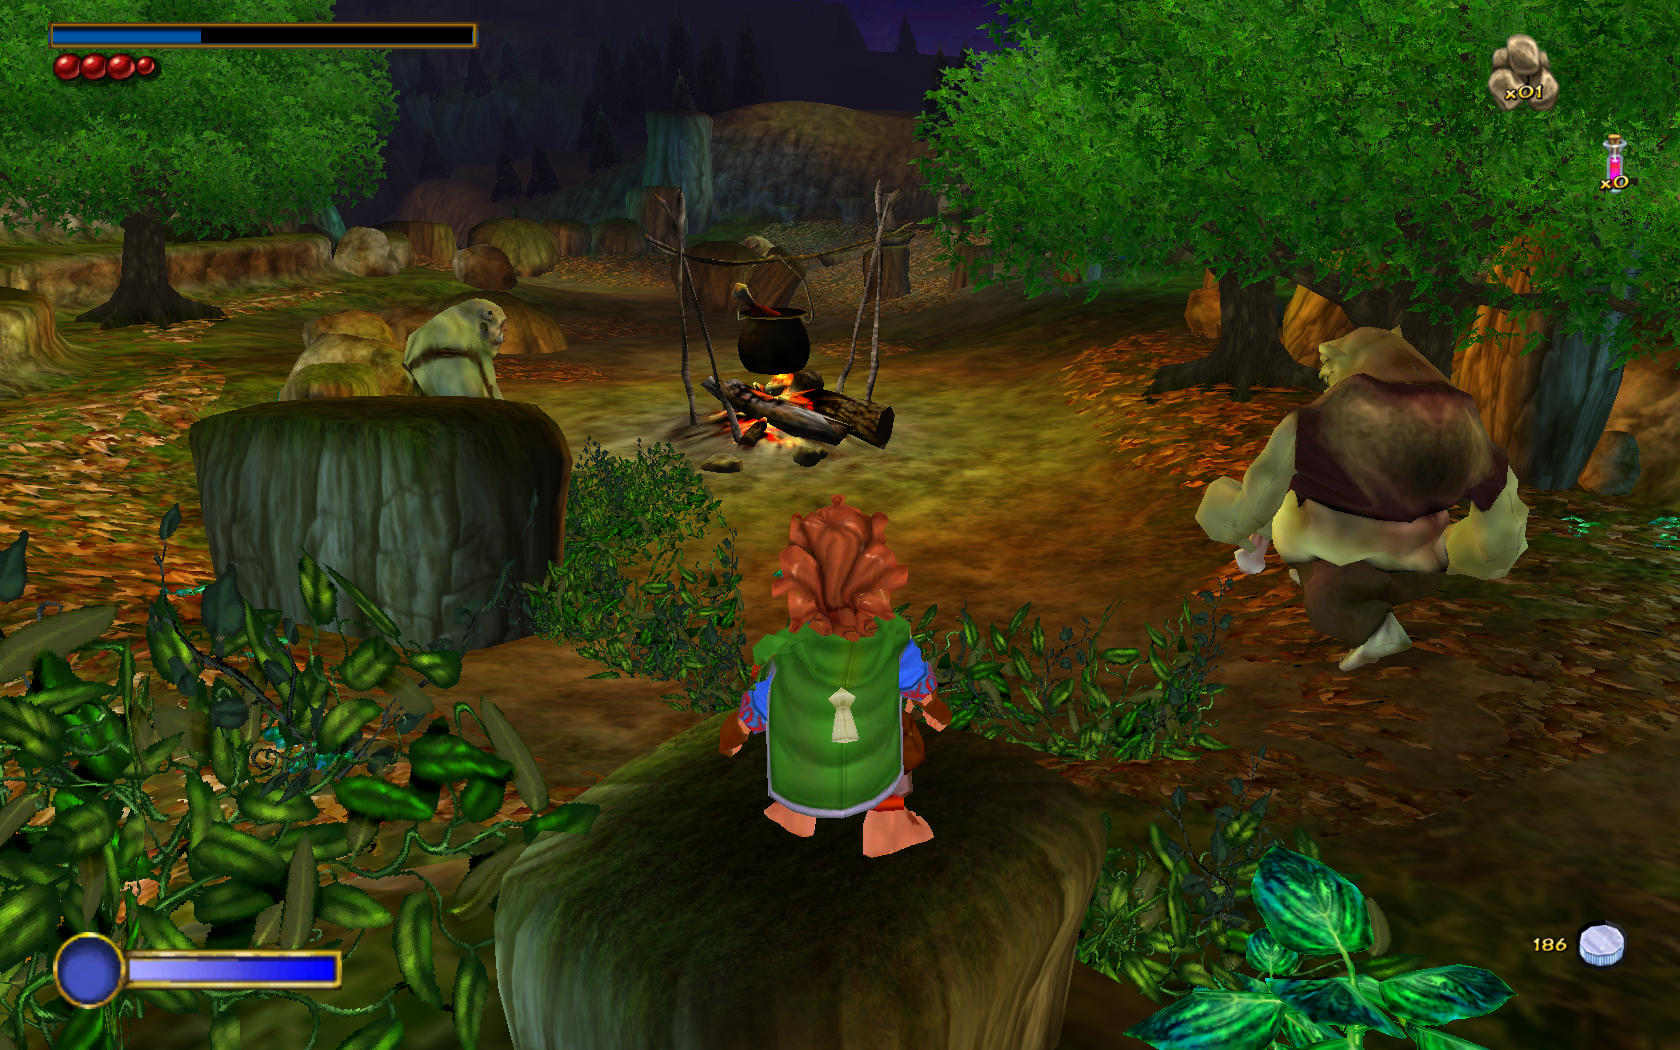
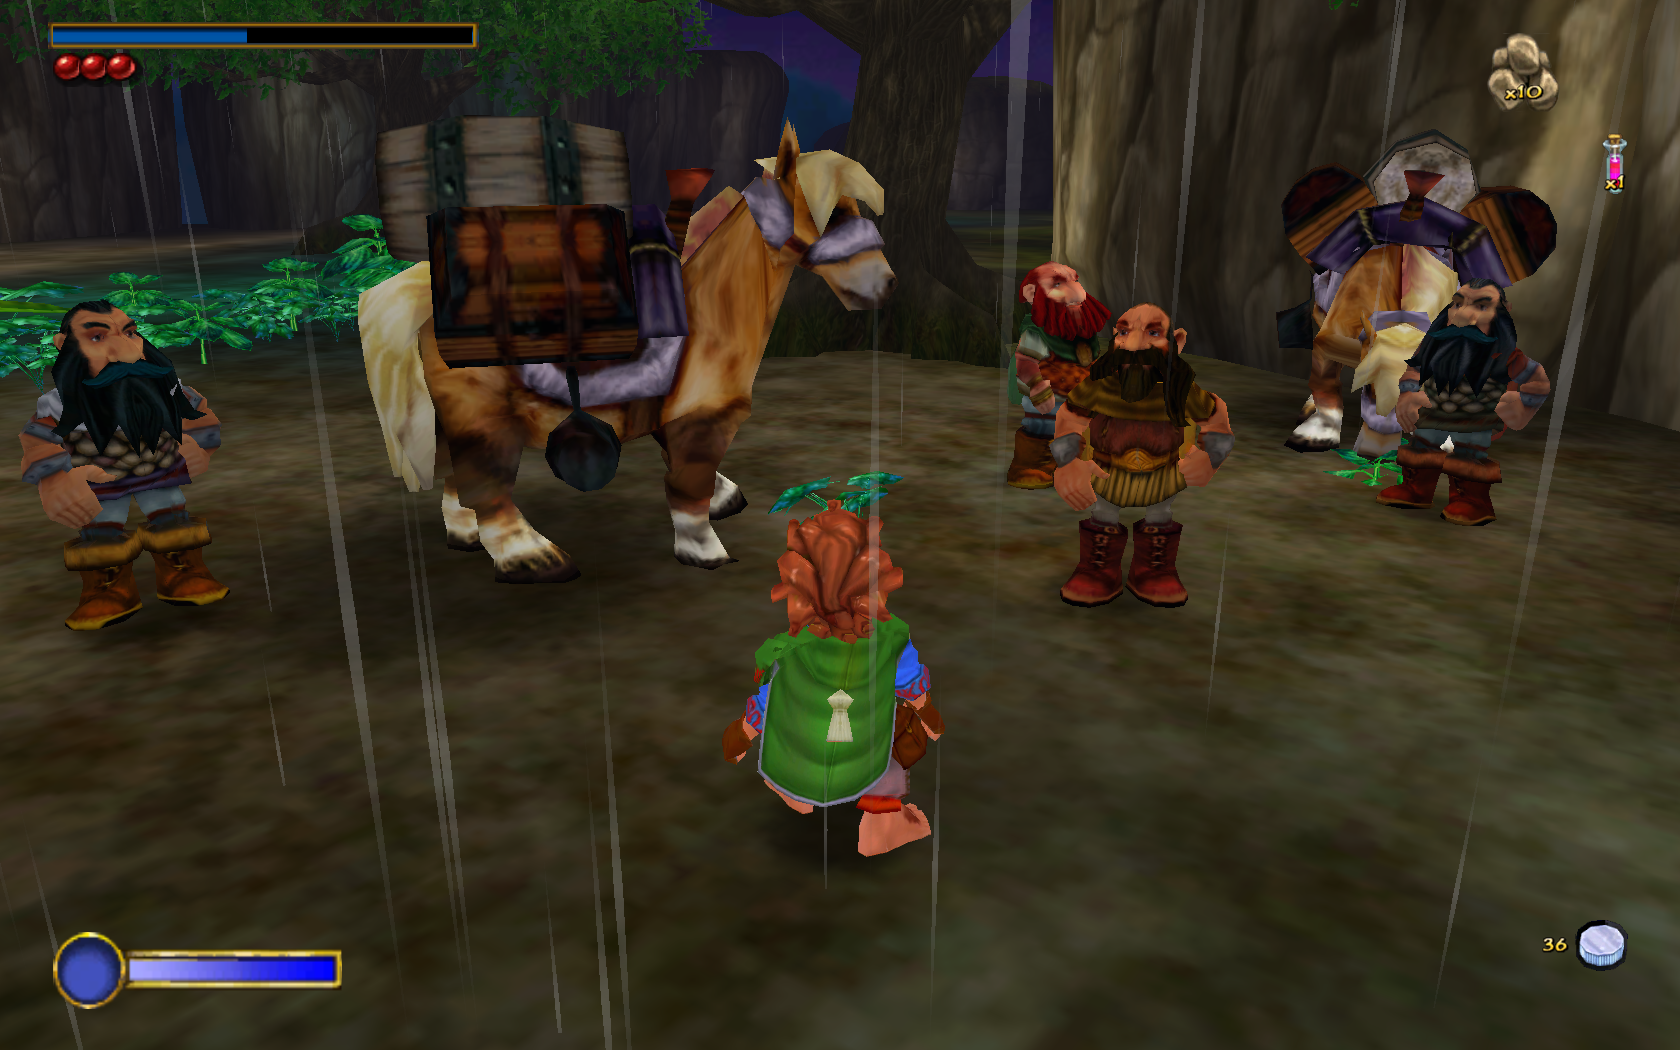
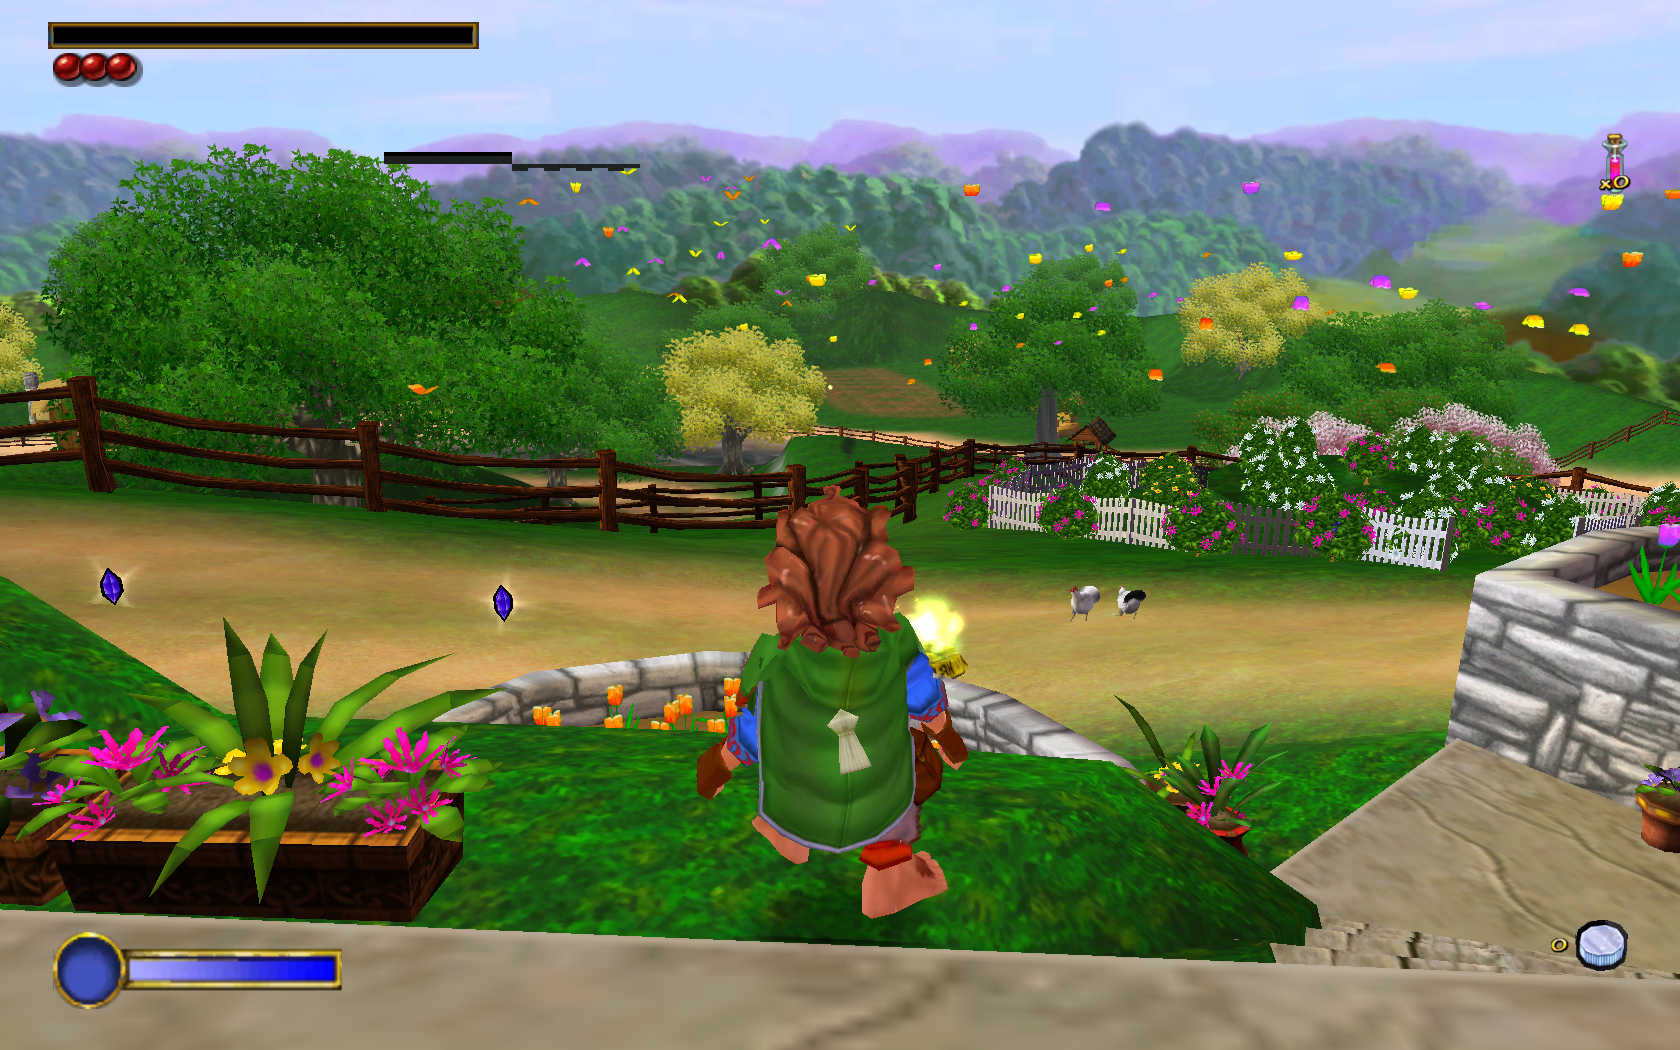
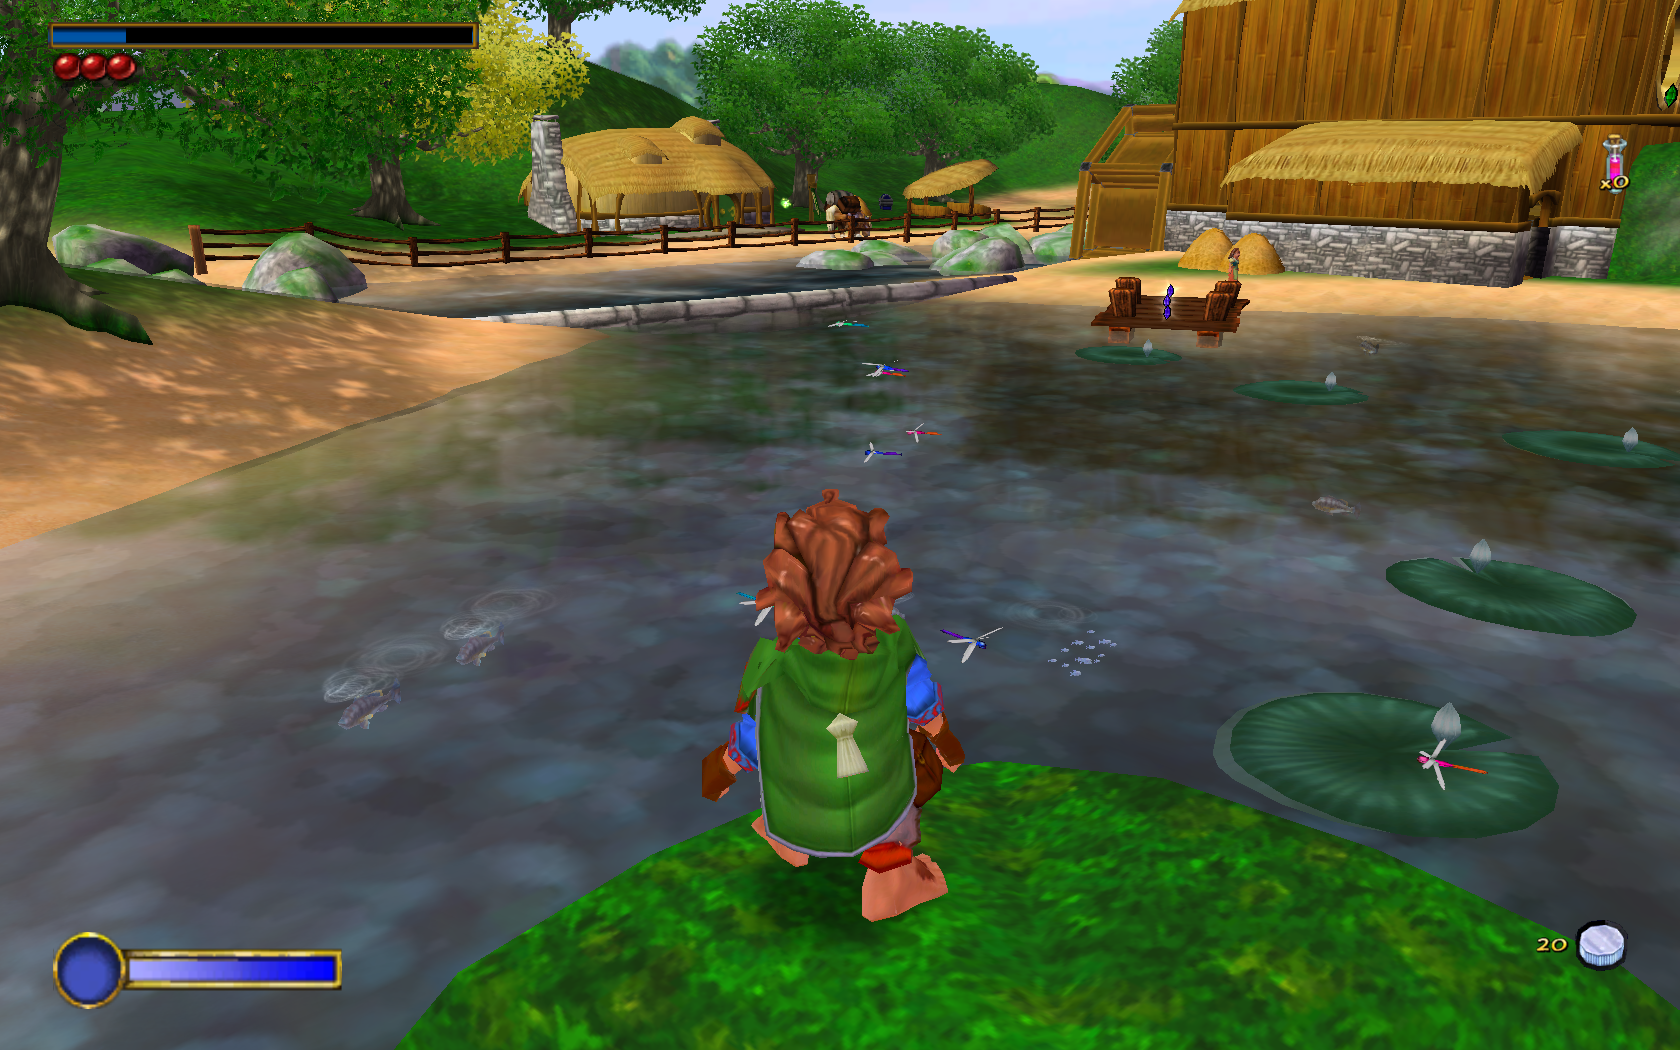
The Hobbit is an action platformer where you play as Bilbo Baggins living out Tolkens Hobbit books. Fight wolves, sneak around Trolls, collect gems & coins, complete tasks to help Thorin Oakenshield and the dwarves reach Lonely Mountain.
Follow my step-by-step guide on installing, configuring and optimizing The Hobbit in Linux with PlayOnLinux.
Note: This guide applies to the Retail CD ROM version of The Hobbit. Other versions may require additional steps.
Tips & Specs:
To learn more about PlayOnLinux and Wine configuration, see the online manual: PlayOnLinux Explained
Mint 17.3 64-bit
PlayOnLinux: 4.2.10
Wine: 1.8.5
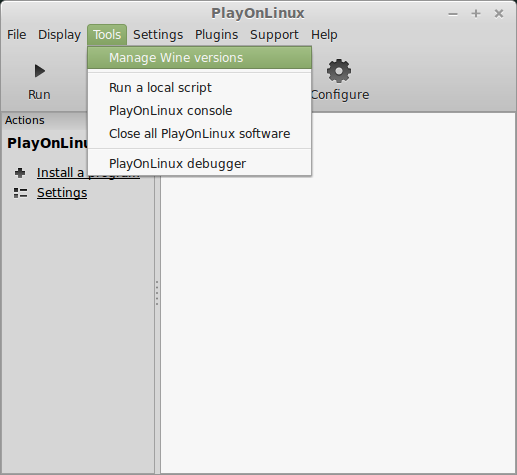
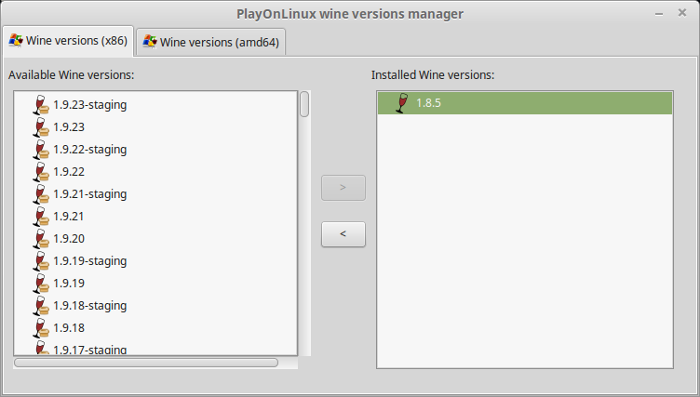
Wine Installation
Click Tools
Select "Manage Wine Versions"
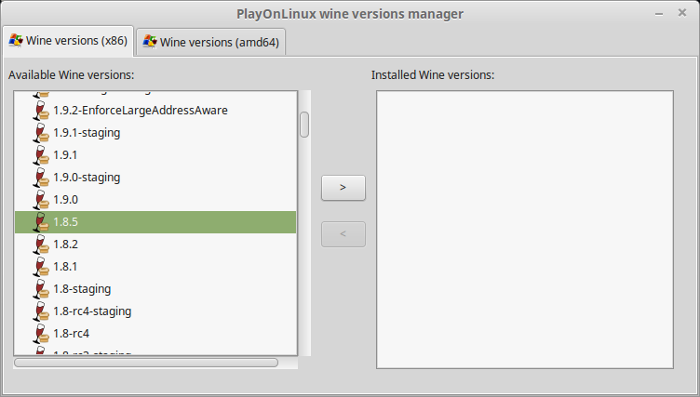
Look for the Wine Version: 1.8.5
Select it
Click the arrow pointing to the right
Click Next
Downloading Wine
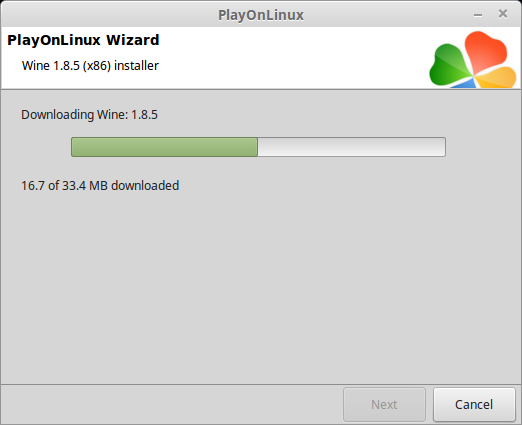
Extracting
Downloading Gecko
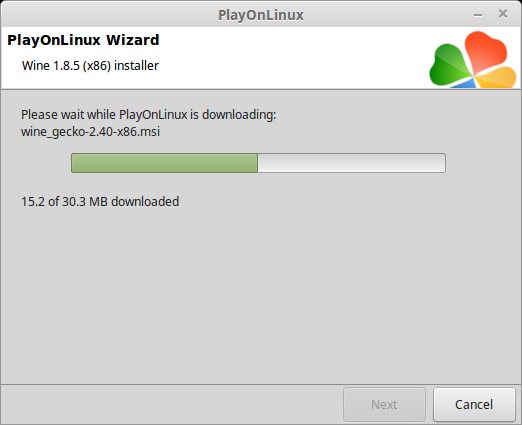
Installed
Wine 1.8.5 is installed and you can close this window
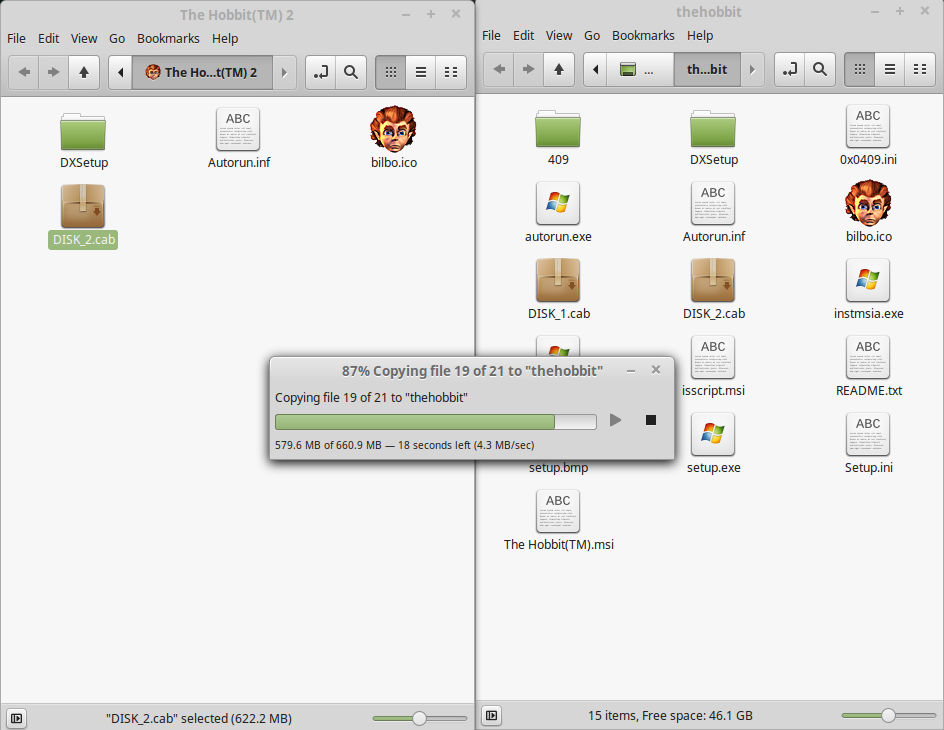
Copy CD ROM Data
Begin with creating a folder on your Desktop
Name it: Hobbit
Copy all of the CD data from CD1 into the Hobbit folder
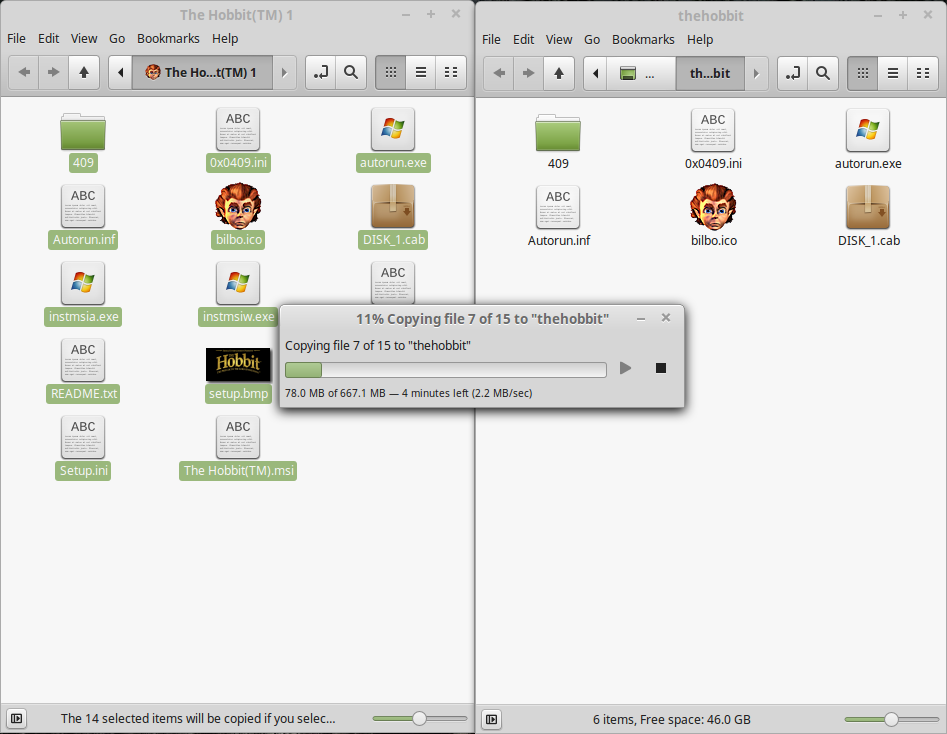
Then copy all of the data from CD2 into the Hobbit folder
Click "skip" on all duplicate files
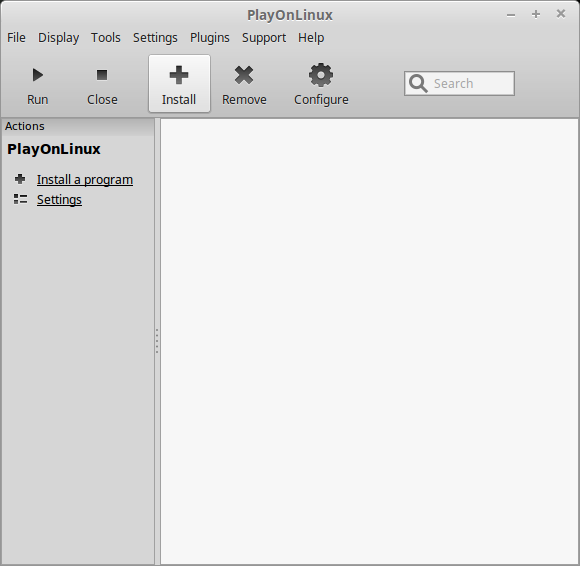
PlayOnLinux Setup
Launch PlayOnLinux
Click Install
Click "Install a non-listed program"
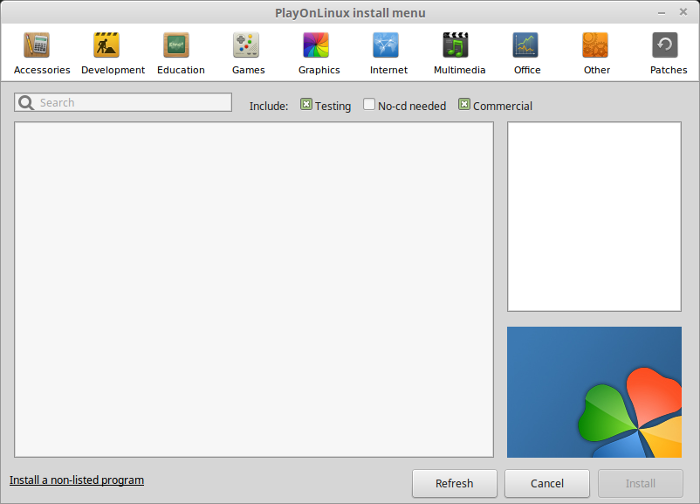
Click Next
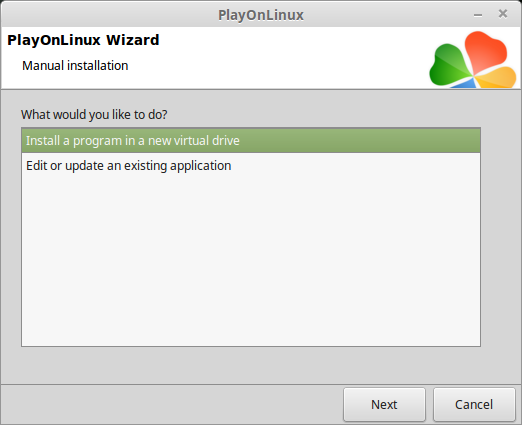
Select "Install a program in a new virtual drive"
Click Next
Name the virtual drive: thehobbit
Click Next

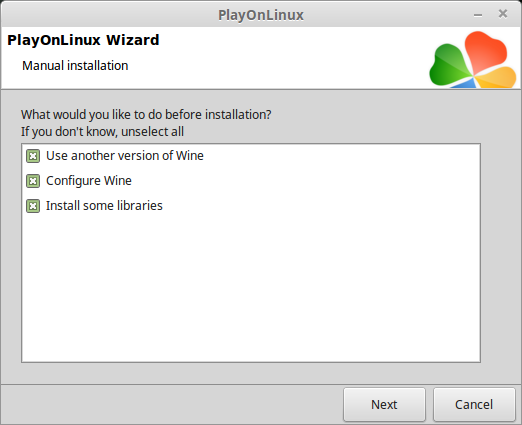
Check all three options:
Click Next
- Use another version of Wine
- Configure Wine
- Install some libraries
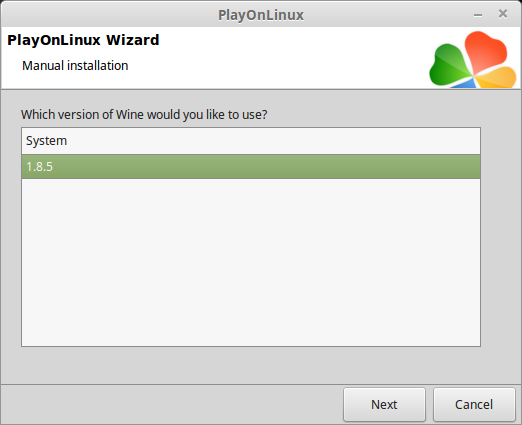
Select Wine 1.8.5
Click Next
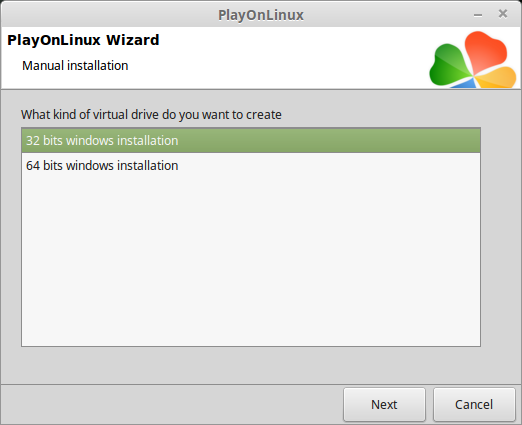
Select "32 bits windows installation"
Click Next
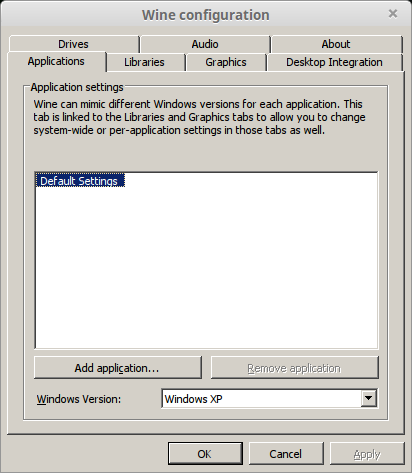
Wine Configuration
Applications Tab
Windows version: Windows XP
Graphics Tab
Check "Automatically capture the mouse in full-screen windows"
Check "Emulate a virtual desktop"
Desktop size: 1024x768
Click OK
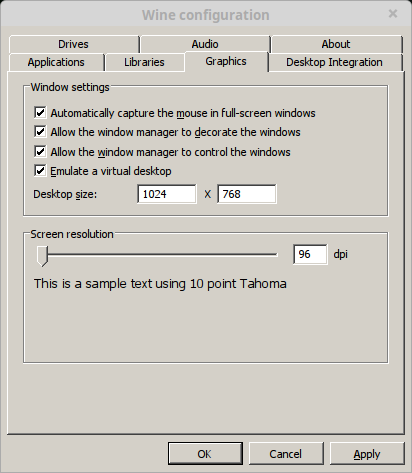
Note: The desktop will resize when in-game resolutions are set
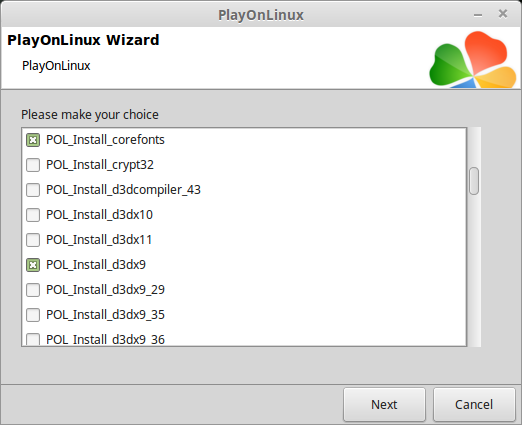
PlayOnLinux Packages (DLLs, Libraries, Components)
Check the following:
Click Next
- POL_Install_corefonts
- POL_Install_d3dx9
- POL_Install_tahoma
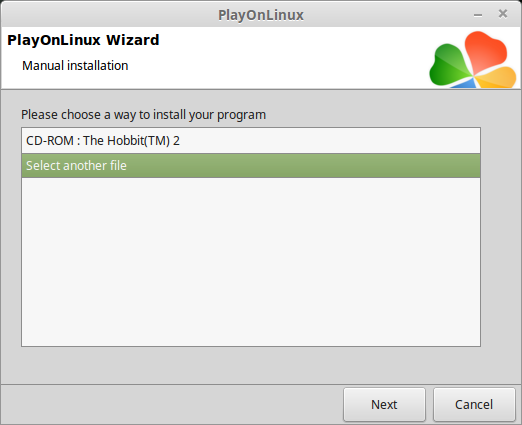
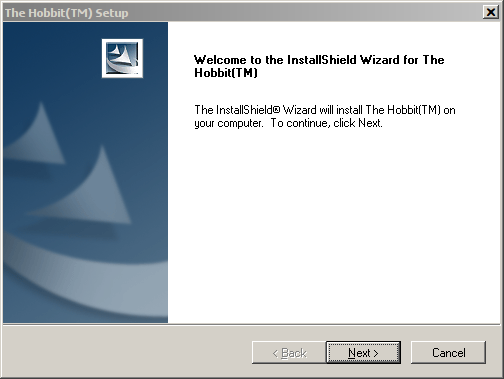
Installing The Hobbit
Select "Select another file"
Click Next
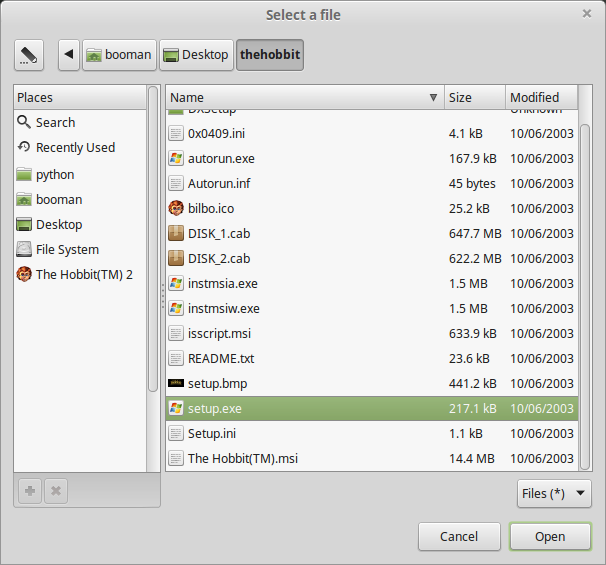
Click Browse
Navigate to the Hobbit folder on your Desktop
Select "setup.exe"
Click Open
Click Next again...
Click Next
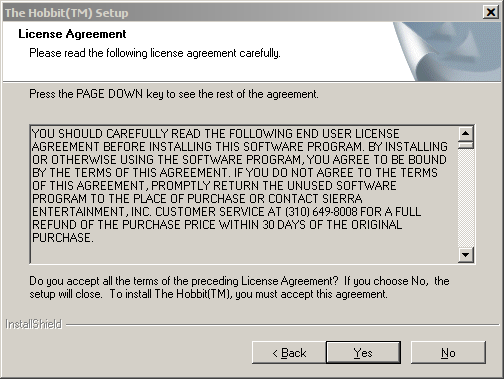
License Agreement
Click Yes
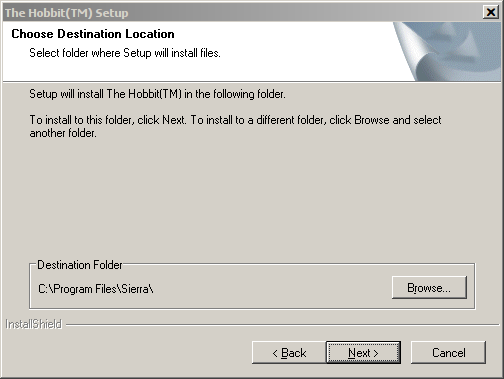
Destination Folder
Click Next
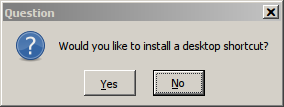
Shortcut
Click No
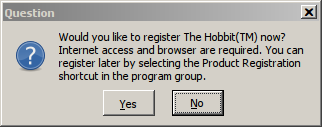
Register
Click No
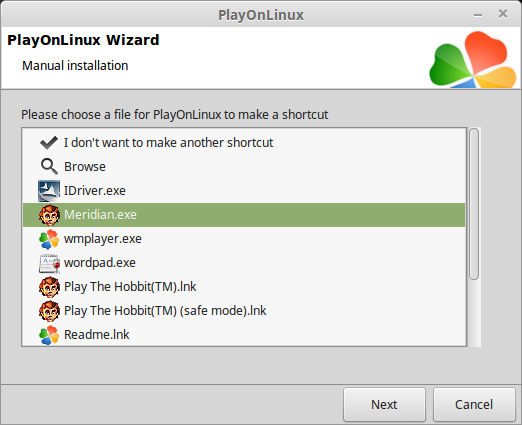
PlayOnLinux Shortcut
Select "Meridian.exe"
Click Next
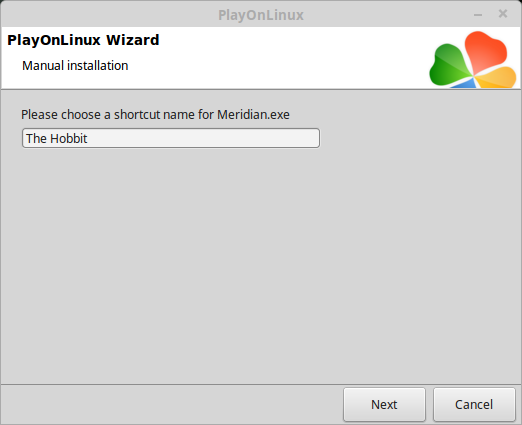
Name the shortcut: The Hobbit
Click Next
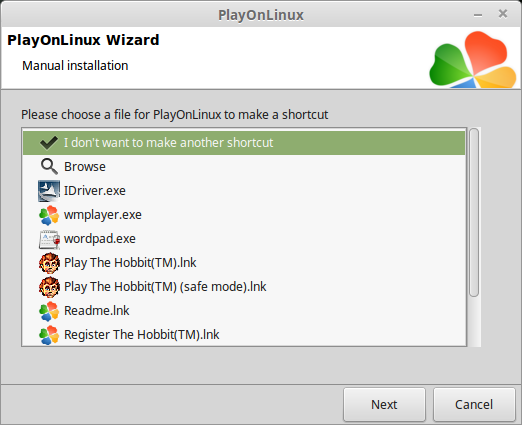
Select "I don't want to make another shortcut"
Click Next
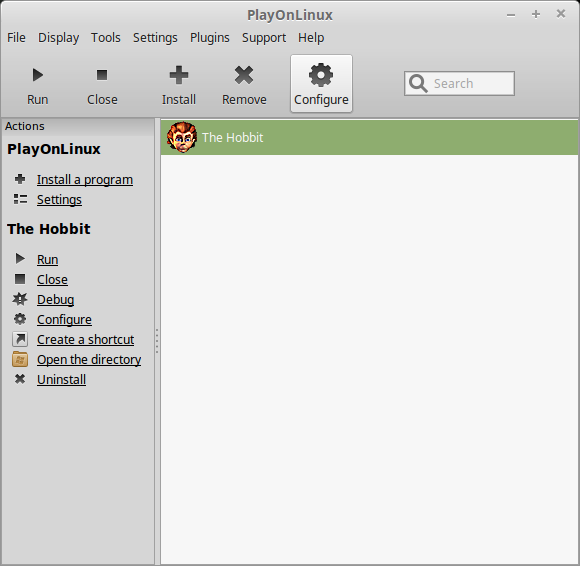
PlayOnLinux Configure
Select "The Hobbit"
Click Configure
General Tab
Wine version: 1.8.5
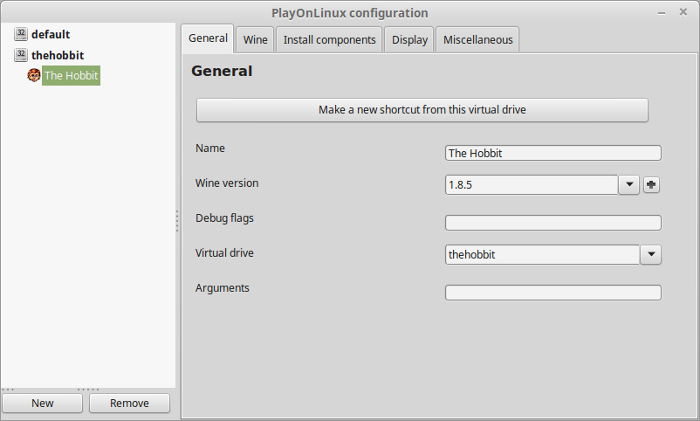
Note: Click the + to download other versions of Wine. Click the down-arrow to select other versions of Wine.
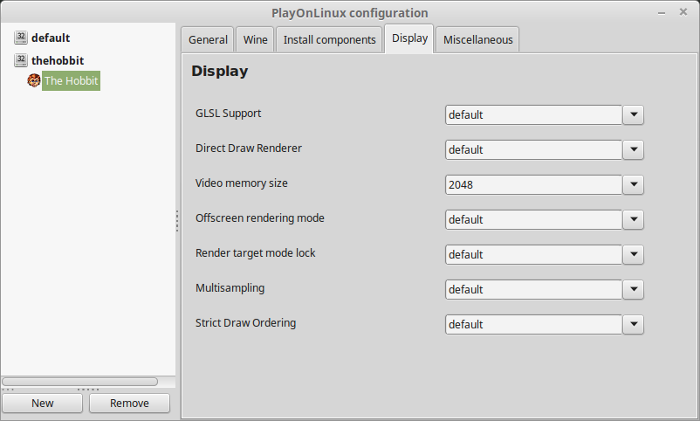
Display Tab
Video memory size: Enter the amount of memory your video card/chip uses
Close Configure
Launch The Hobbit
Select "The Hobbit"
Click Run
Note: click debug to see errors and bugs
Optimization
Click Options

Click Video
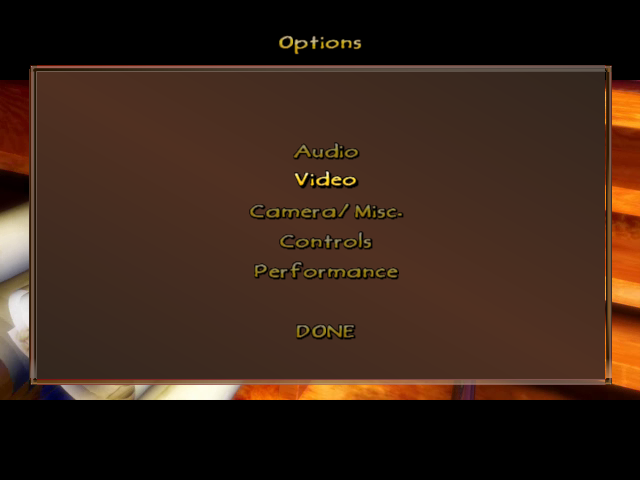
Adjust Resolution
Click Apply

Back to Options
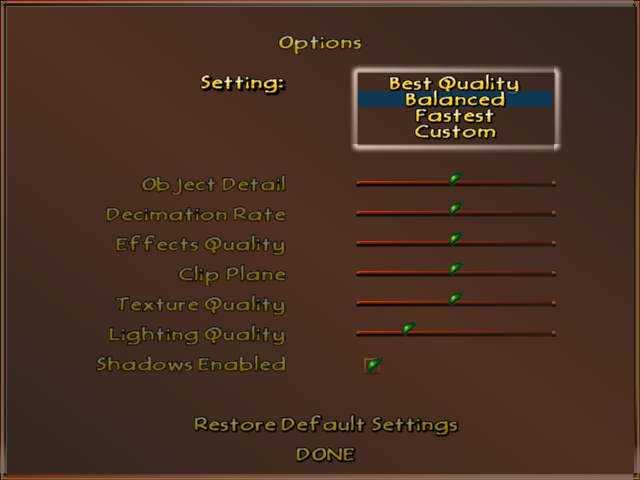
Click Performance
Adjust:
Click Done
- Object Detail
- Decimation Rate
- Effects Quality
- Clip Plane
- Texture Quality
- LIghting Quality
- Shadows Enabled
Conclusion:
Since The Hobbit was made in 2003 it should run on just about any laptop or computer. I had no problems or graphical artifacts. It played pefectly on my GTX 950 without issues.
Gameplay Video:
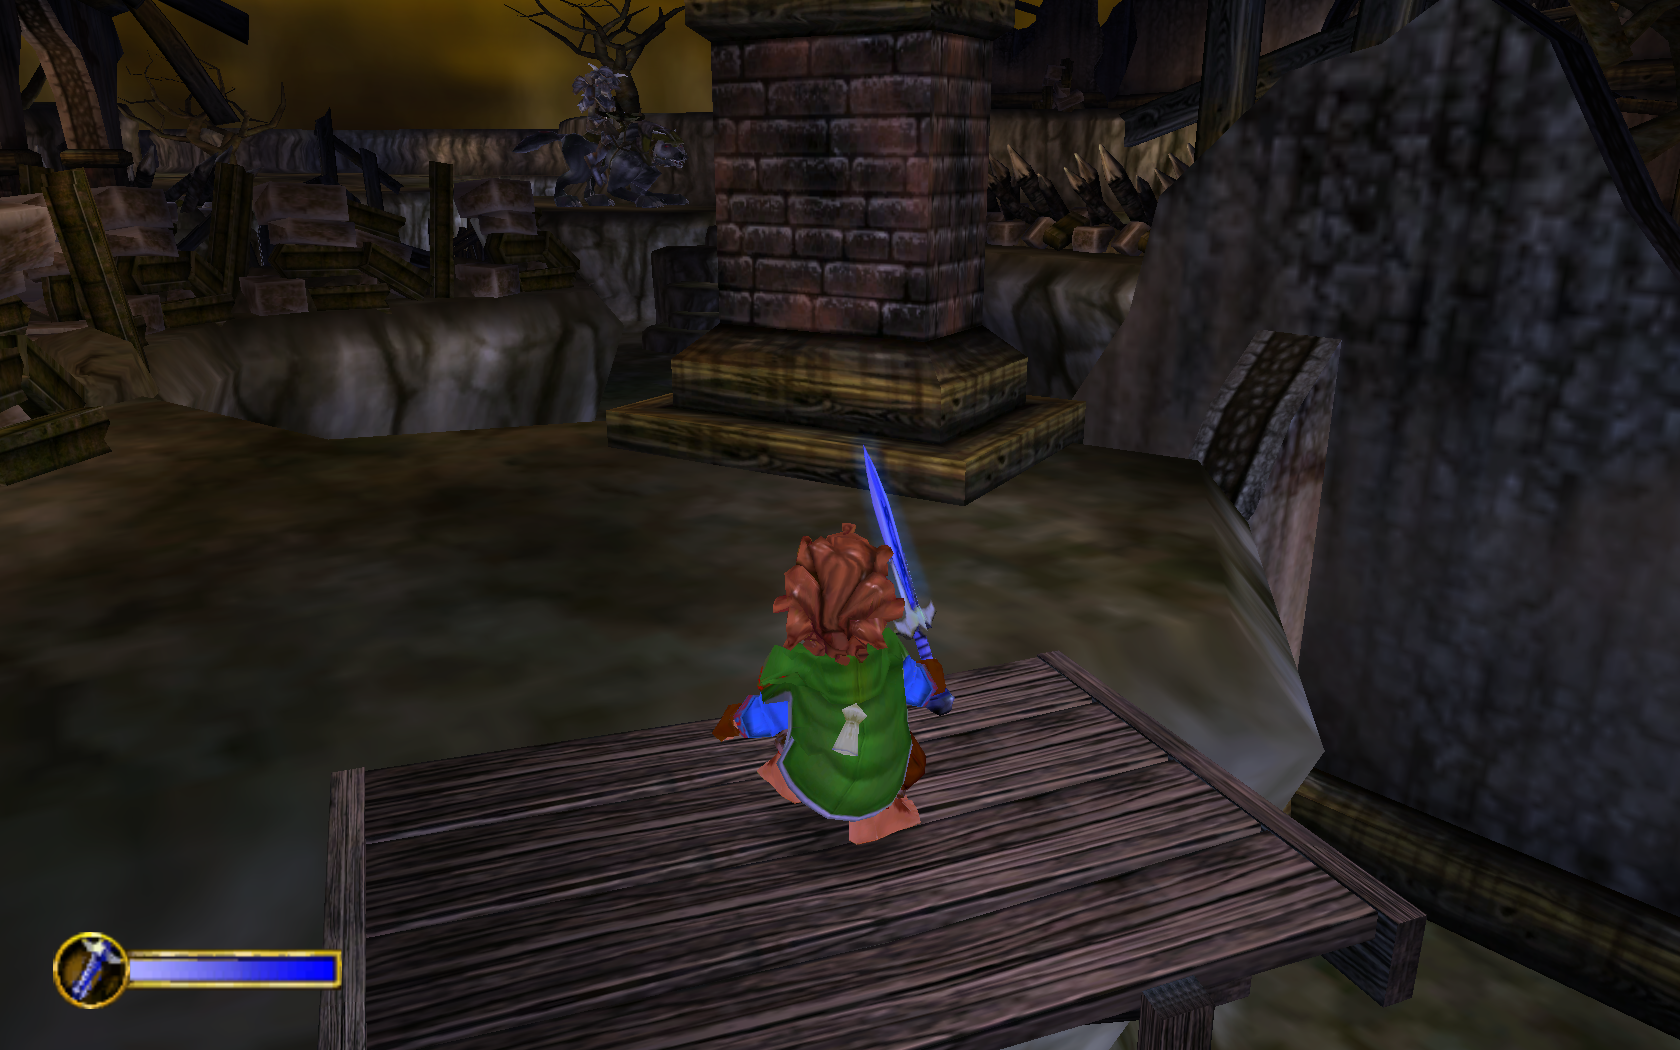
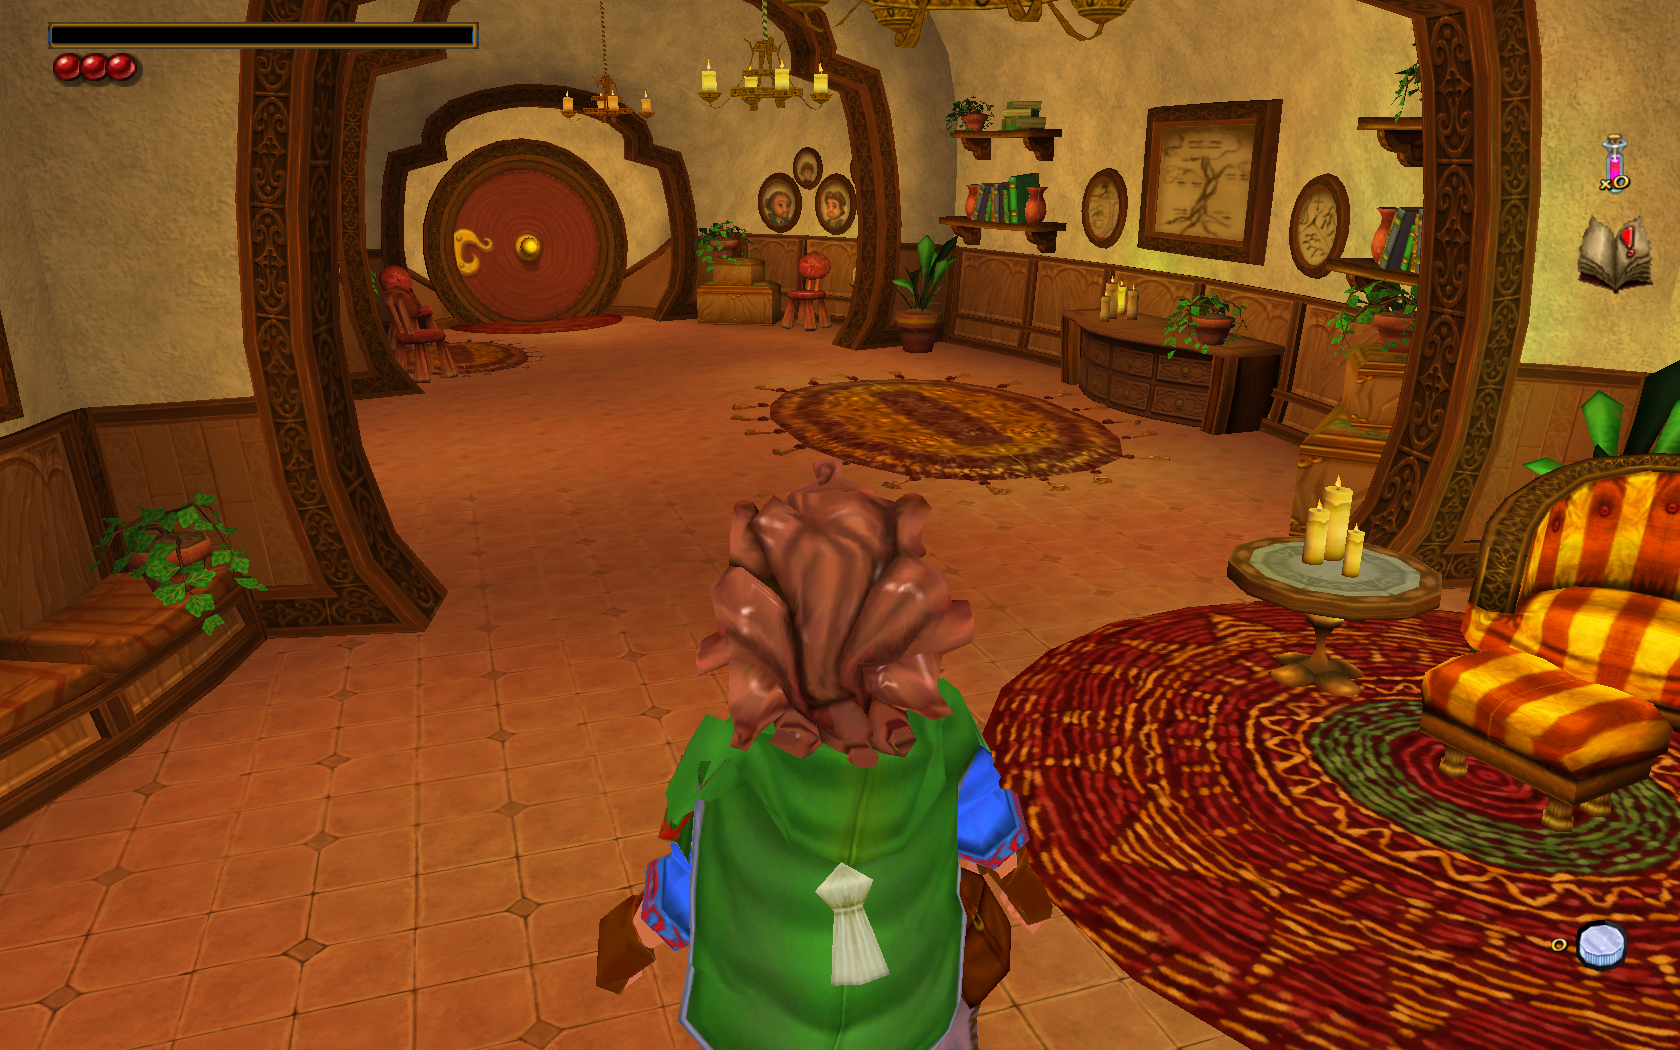
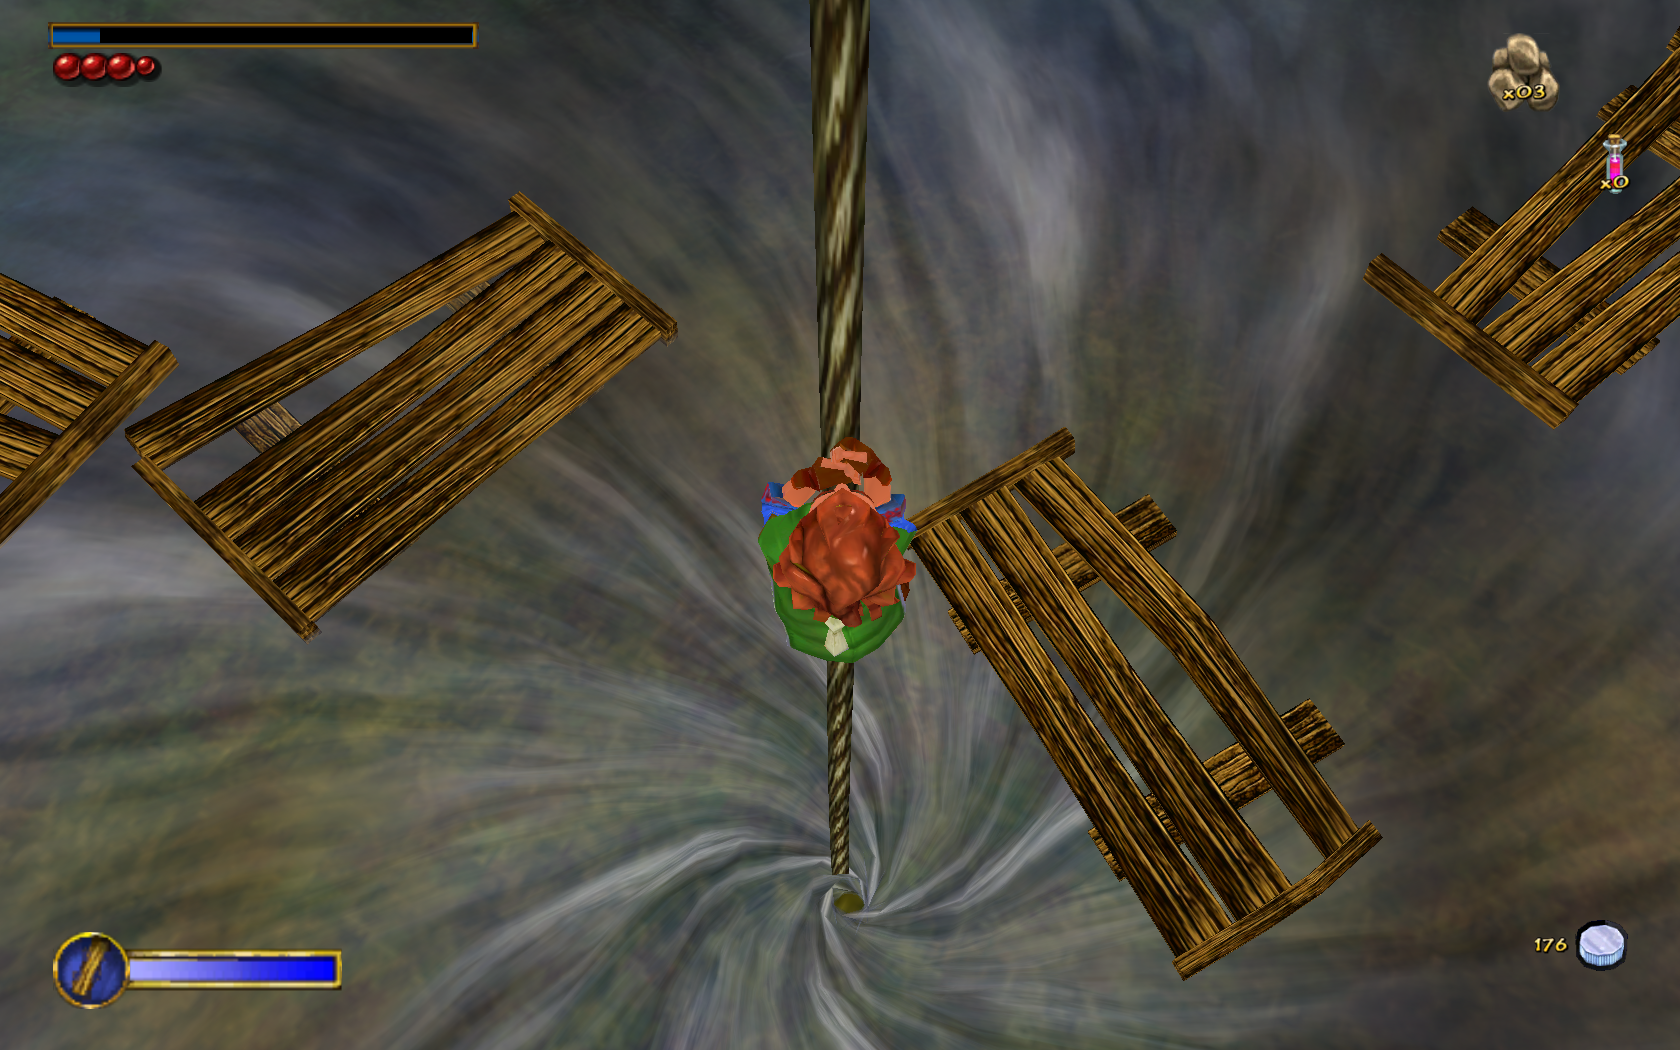
Screenshots:

Comments
Discussion in 'Guides' started by booman, Feb 17, 2017.
XenPorta
© Jason Axelrod from 8WAYRUN.COM