
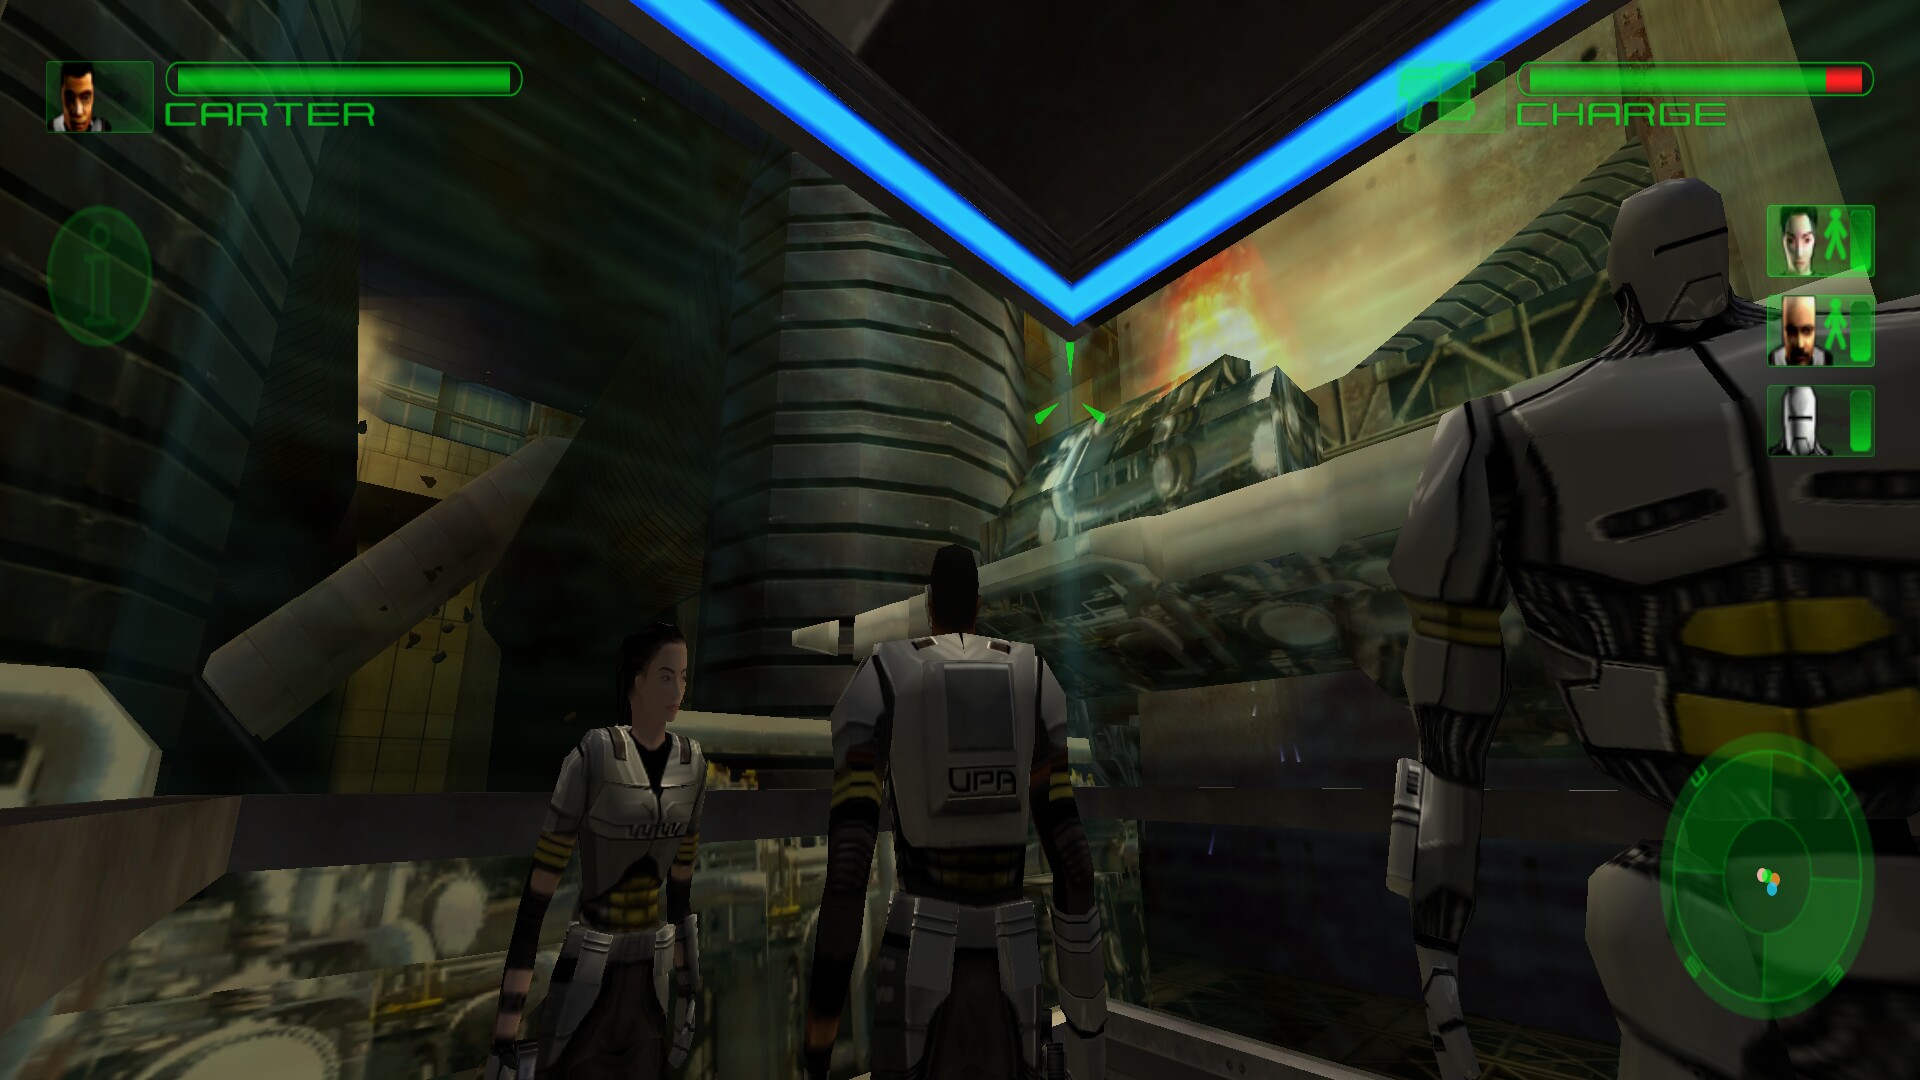
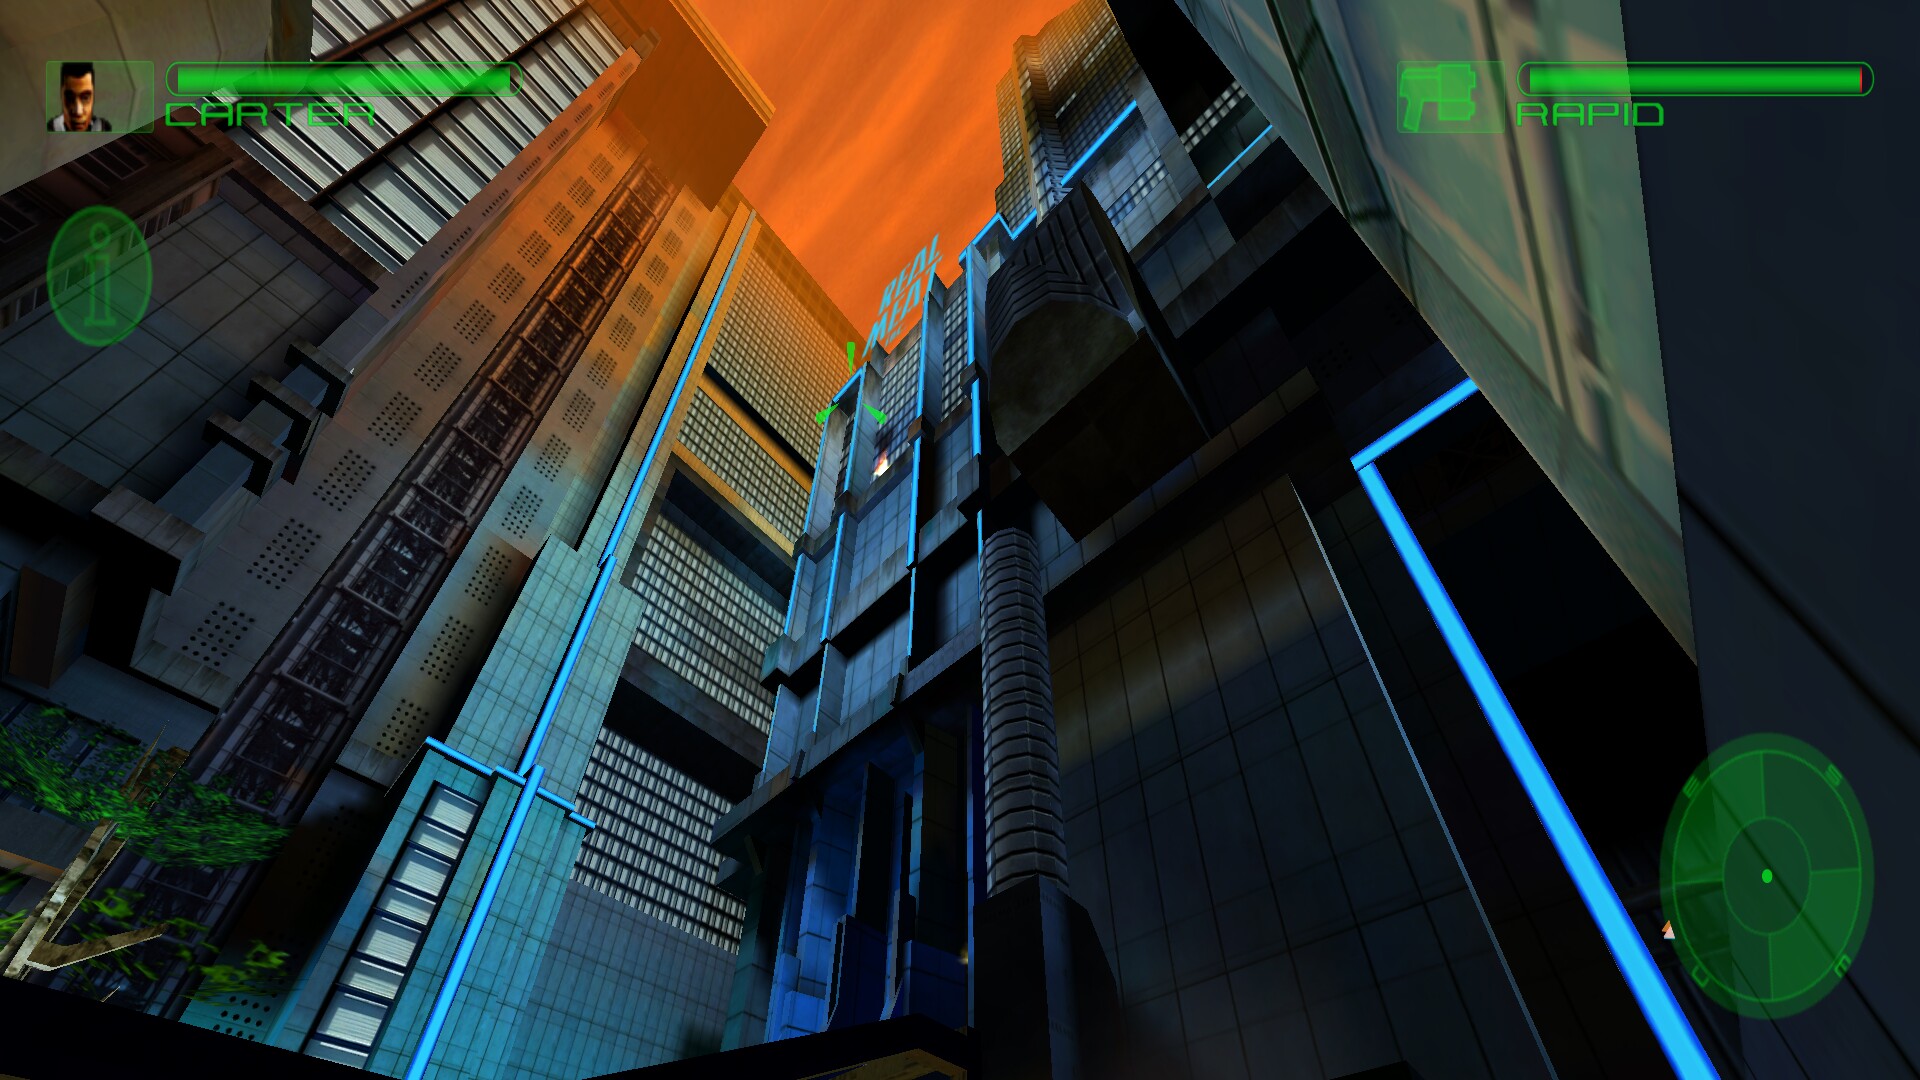
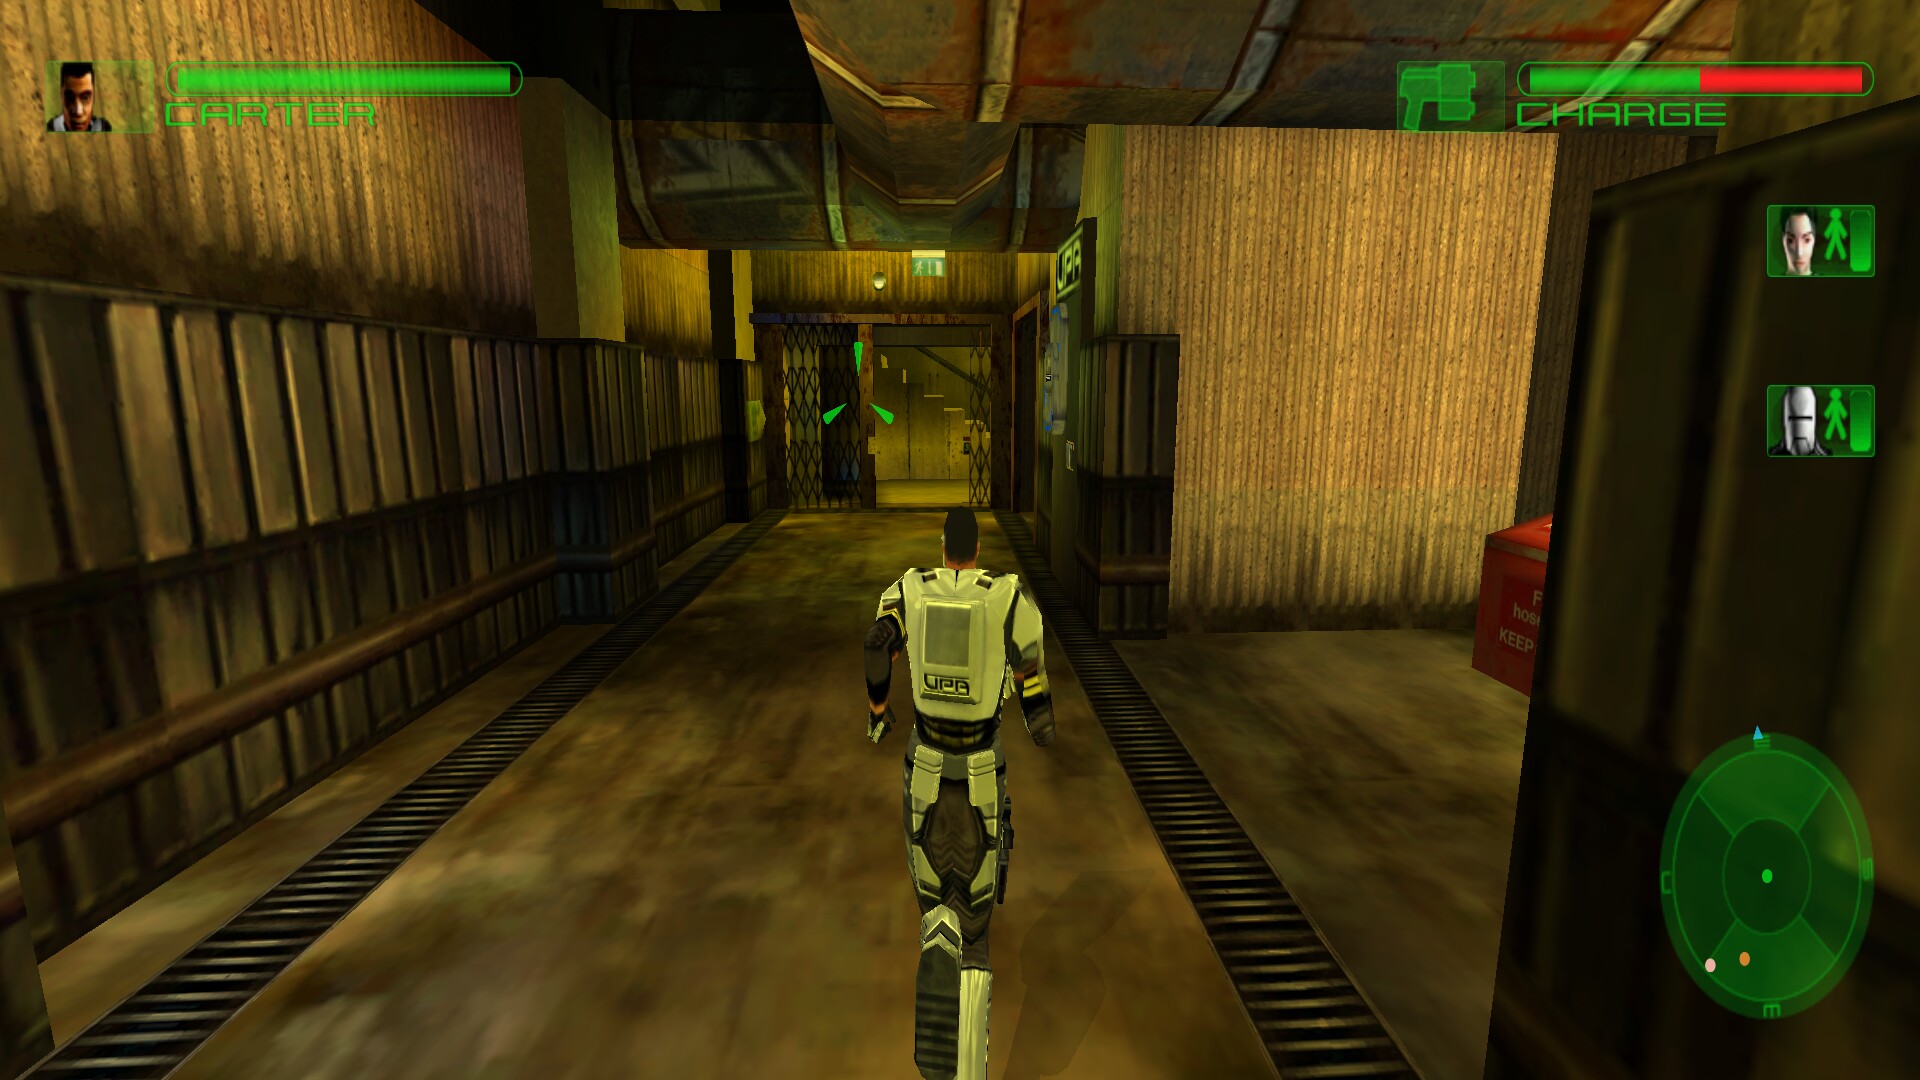
Play as a team of UPA agents in a squad based shooter puzzler. Your squad is tasked with investigating the machinery failures in the underground that power the rich aboveground life. Each of the four characters have their own abilties and weapons. Use them wisely or perish against cultists, gang-bangers and mutants.
Follow my step-by-step guide on installing, configuring and optimizing Project Eden in Linux with PlayOnLinux.
Note: This guide applies to the GOG version of Project Eden. Other versions may require additional steps.
Tips & Specs:
To learn more about PlayOnLinux and Wine configuration, see the online manual: PlayOnLinux Explained
Mint 18.3 64-bit
PlayOnLinux: 4.2.12
Wine: 3.3
Wine Installation
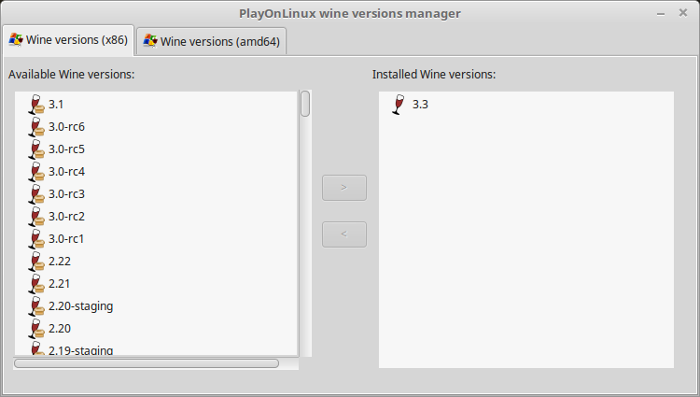
Click Tools
Select "Manage Wine Versions"

Look for the Wine Version: 3.3
Select it
Click the arrow pointing to the right
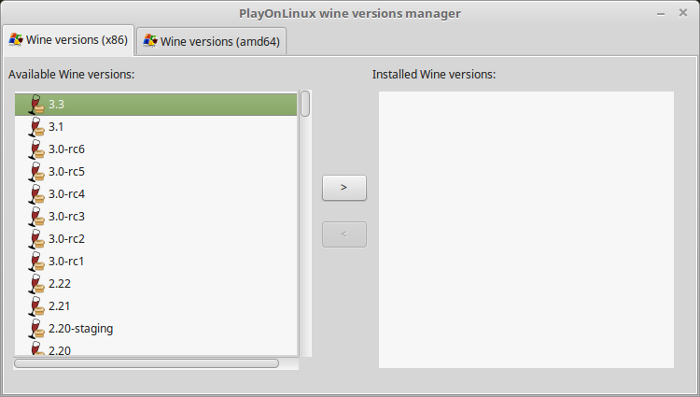
Click Next
Downloading Wine
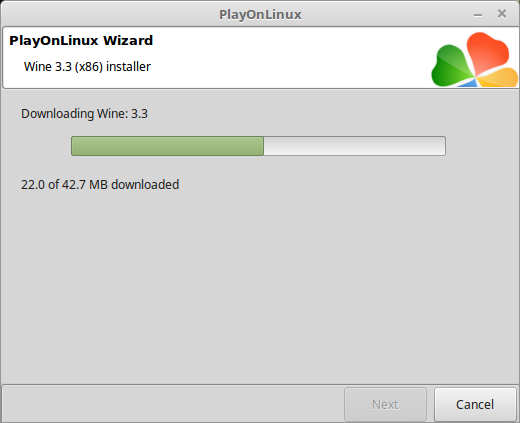
Extracting
Downloading Gecko

Installed
Wine 3.3 is installed and you can close this window
PlayOnLinux Setup
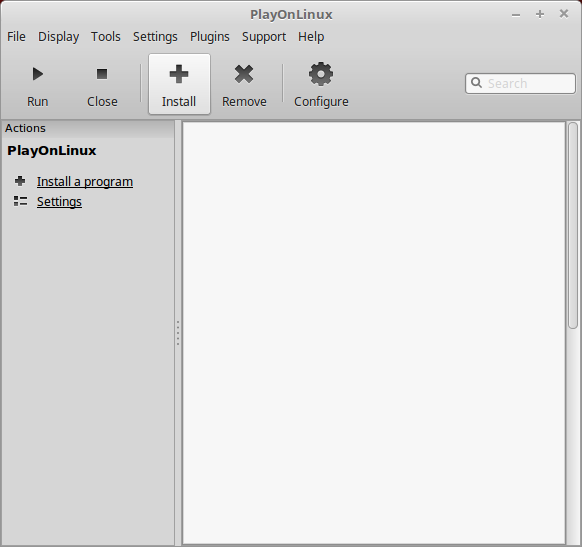
Launch PlayOnLinux
Click Install
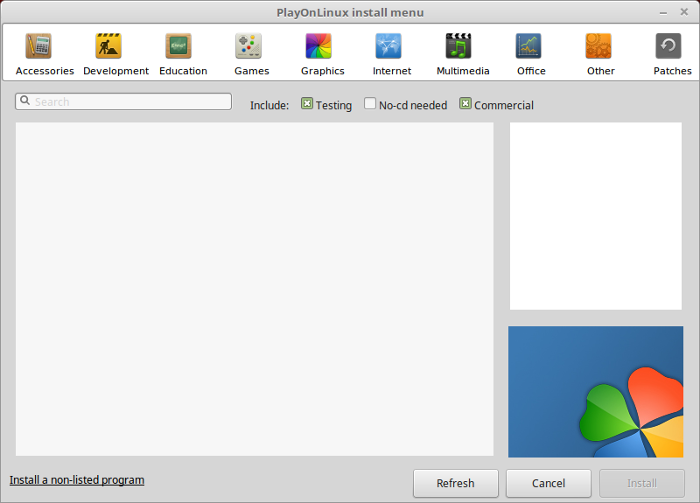
Click "Installa a non-listed program"
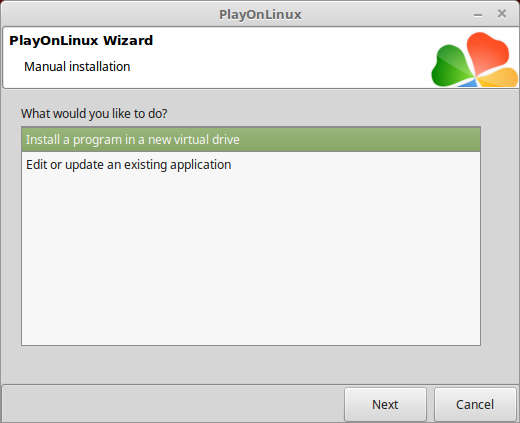
Click Next
Select "Install a program in a new virtual drive"
Click Next
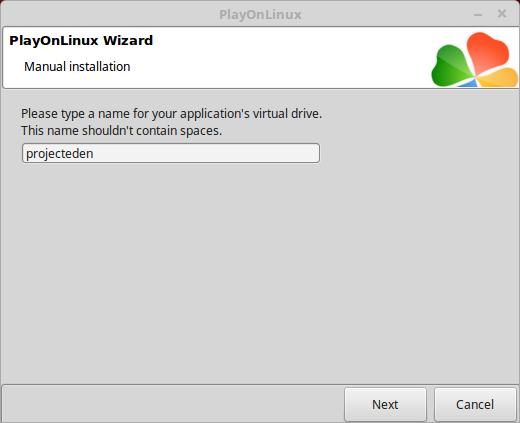
Name the virtual Drive: projecteden
Click Next
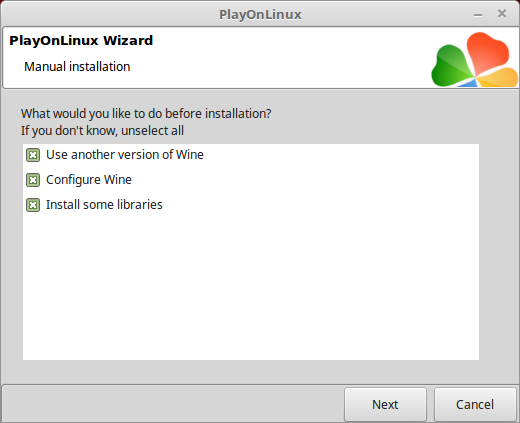
Check all three options:
Click Next
- Use another version of Wine
- Configure Wine
- Install some libraries
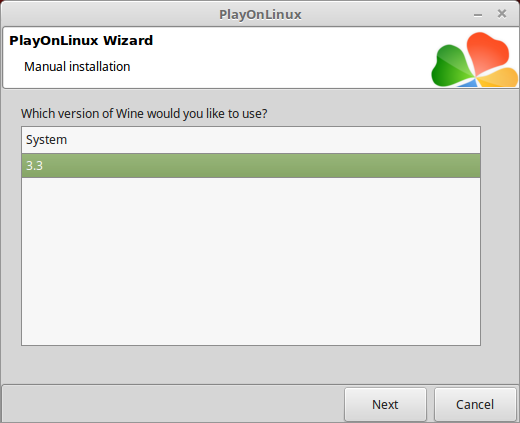
Select Wine 3.3
Click Next
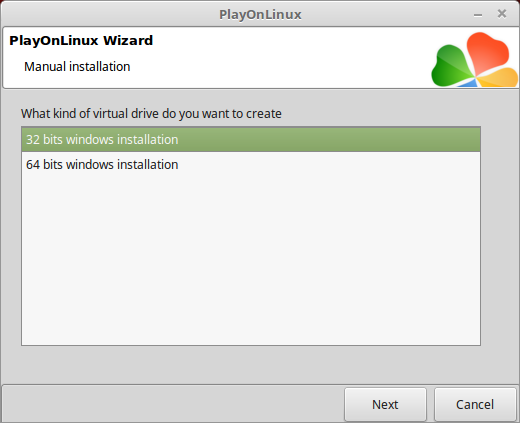
Select "32 bits windows installation"
Click Next
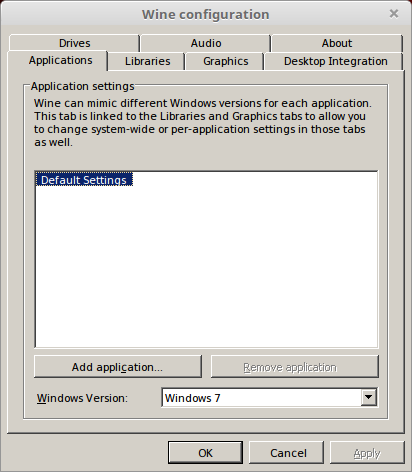
Wine Configuration
Applications Tab
Windows version: Windows 7
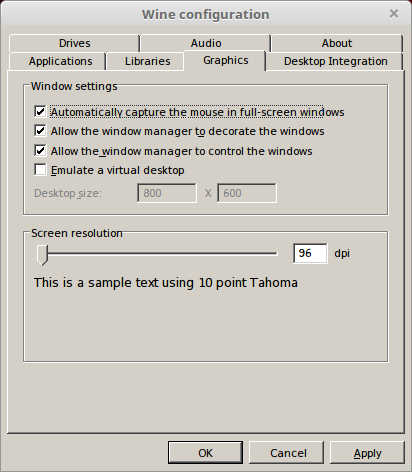
Graphics Tab
Check "Automatically capture the mouse in full-screen windows"
Click OK
PlayOnLinux Packages (DLLs, Libraries, Components)
Check the following:
Click Next
- POL_Install_corefonts
- POL_Install_d3dx9
- POL_Install_tahoma
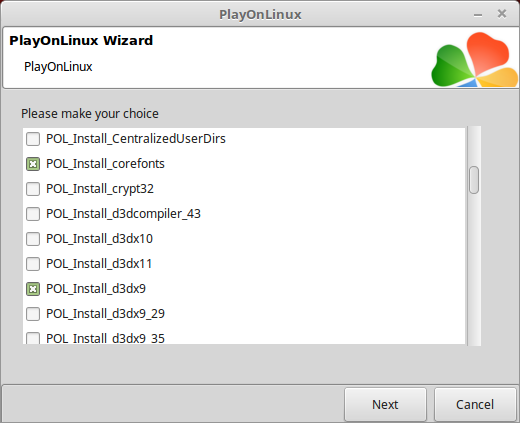
Note: All packages will automatically download and install
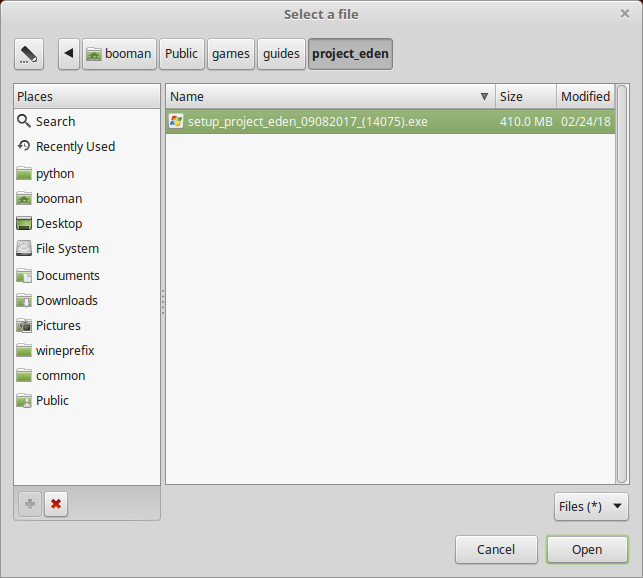
Installing Project Eden
Click Browse
Select "setup_project_eden_0908201_(14075).exe"
Click Open
Click Next again
Click OK
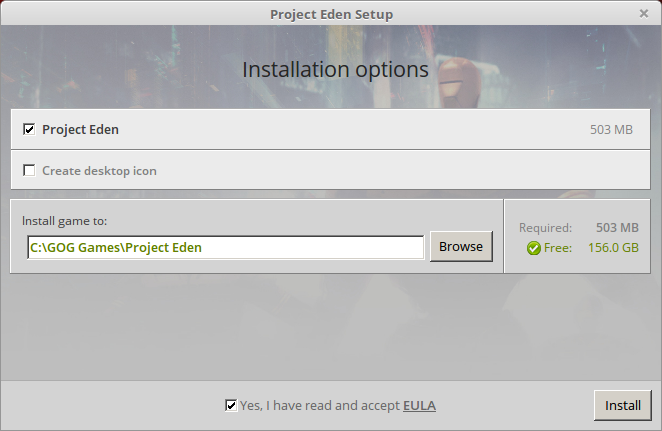
Click Options
Uncheck "Create desktop icon"
Check "Yes, I have read and accept EULA"
Click Install
Click OK on all errors
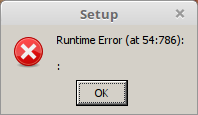
Note: The errors do not affect the installation
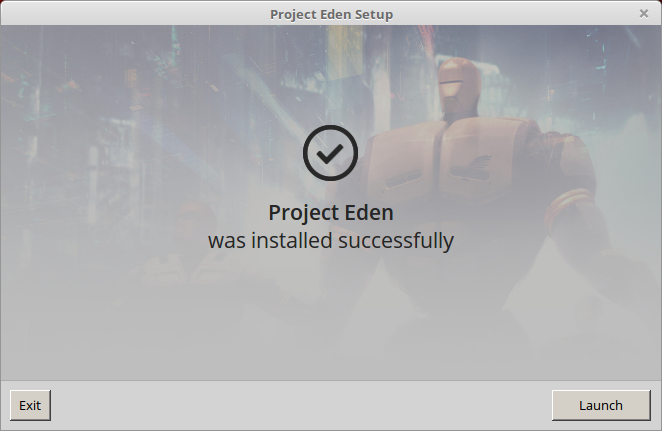
Click Exit
PlayOnLinux Shortcut
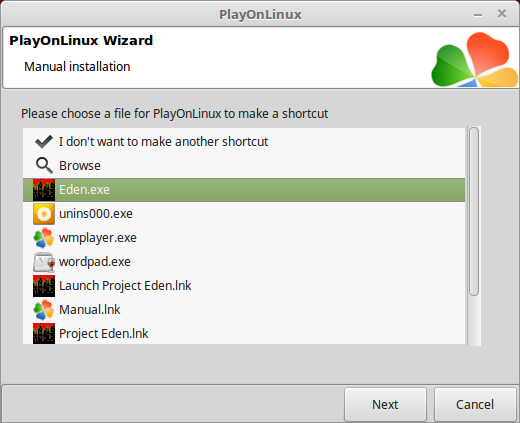
Select "Eden.exe"
Click Next
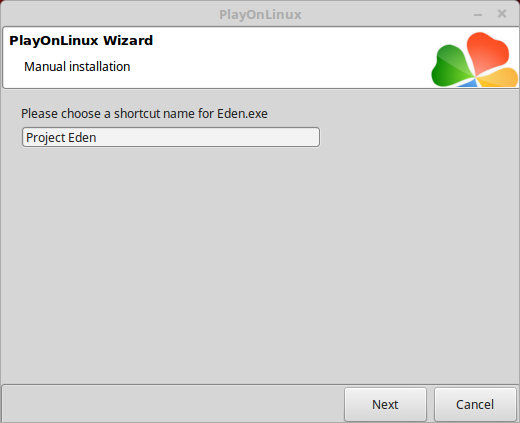
Name the shortcut: Project Eden
Click Next
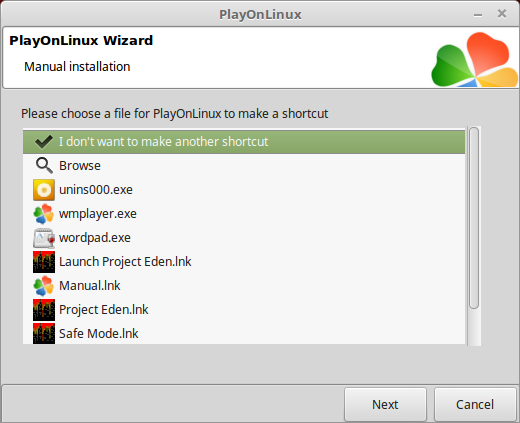
Select "I don't want to make another shortcut"
Click Next
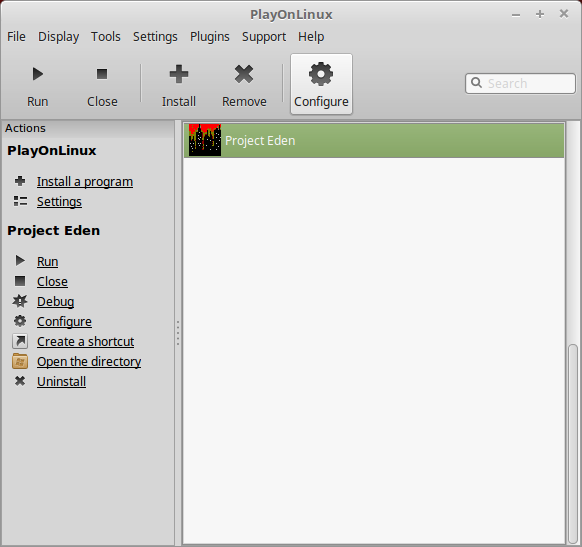
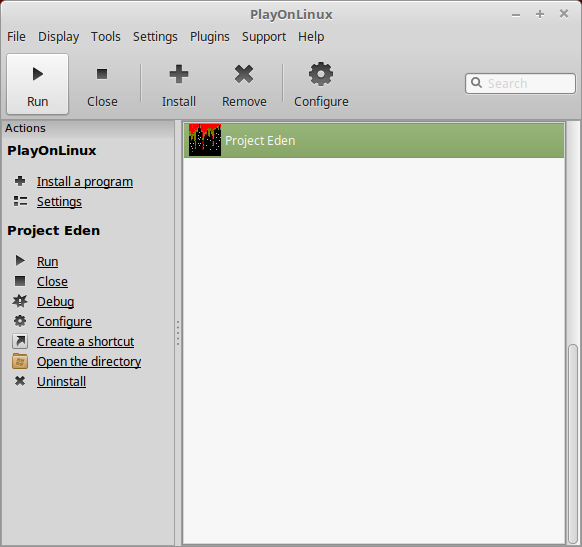
PlayOnLinux Configure
Select "Project Eden"
Click Configure
General Tab
Wine version: 3.3
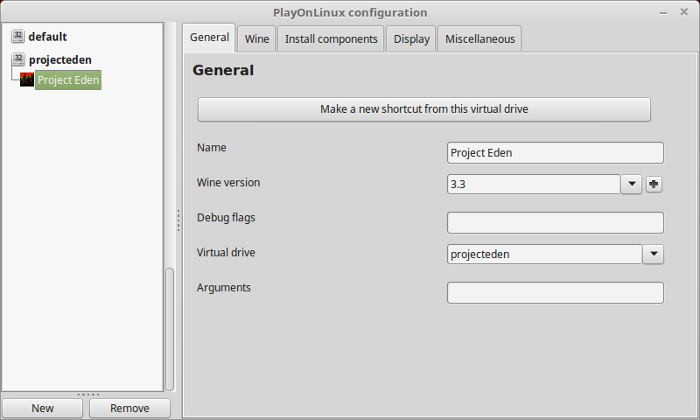
Note: Click the + to download other versions of Wine. Click the down-arrow to select other versions of Wine
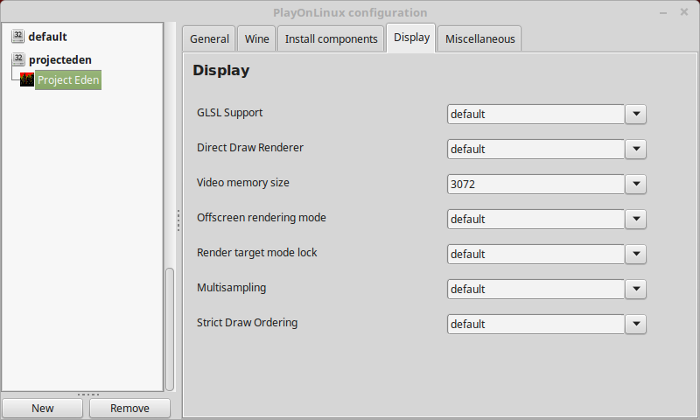
Display Tab
Video memory size: Enter the amount of memory your video card/chip uses
Close Configure
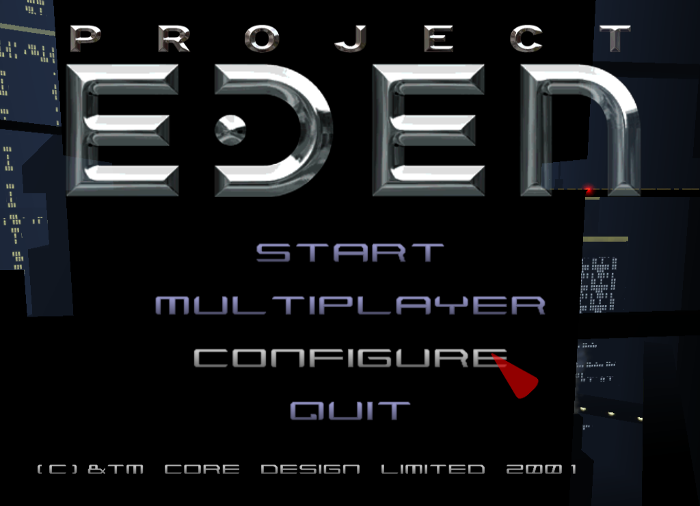
Launch Project Eden
Select Project Eden
Click Run
Note: Click Debug to see errors and bugs
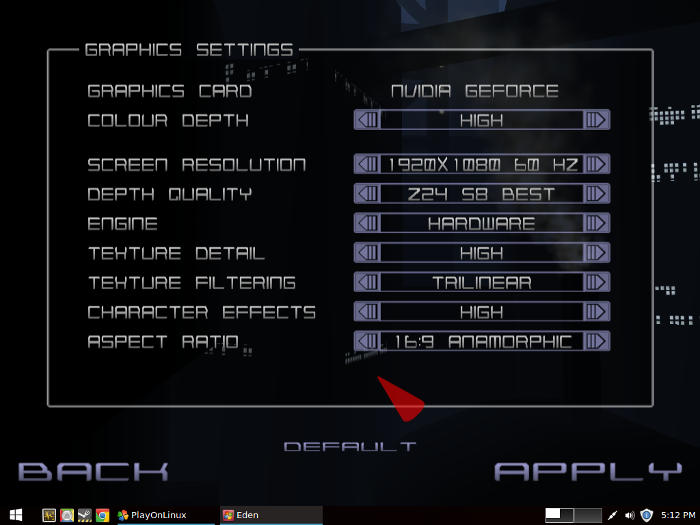
Graphics Settings
Click Configure
Click Graphics
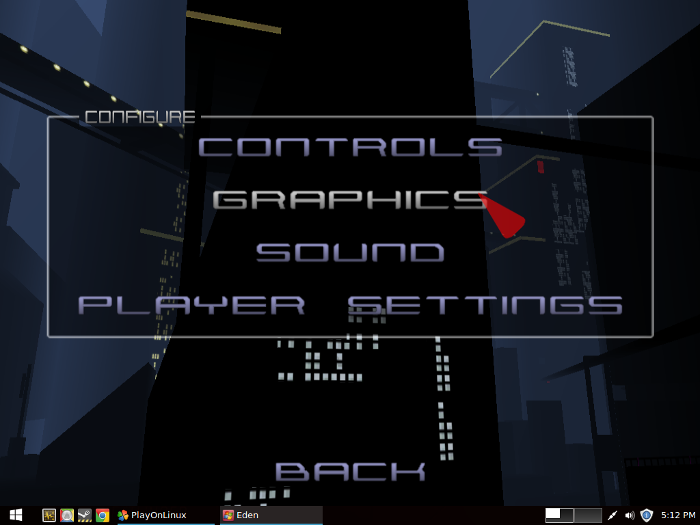
Adjust:
Click Apply
- Colour Depth
- Screen Resolution
- Depth Quality
- Engine
- Texture Detail
- Texture Filtering
- Chracter Effects
- Aspect Ratio
Conclusion:
Project Eden ran perfectly from the first try on my GeForce GTX 1060. I was able to adjust the graphics settings in game to high and 1920x1080. Everything ran perfectly. Its actually an interesting puzzle shooter where you have to swap between characters in the group to achieve goals.
Gameplay video:
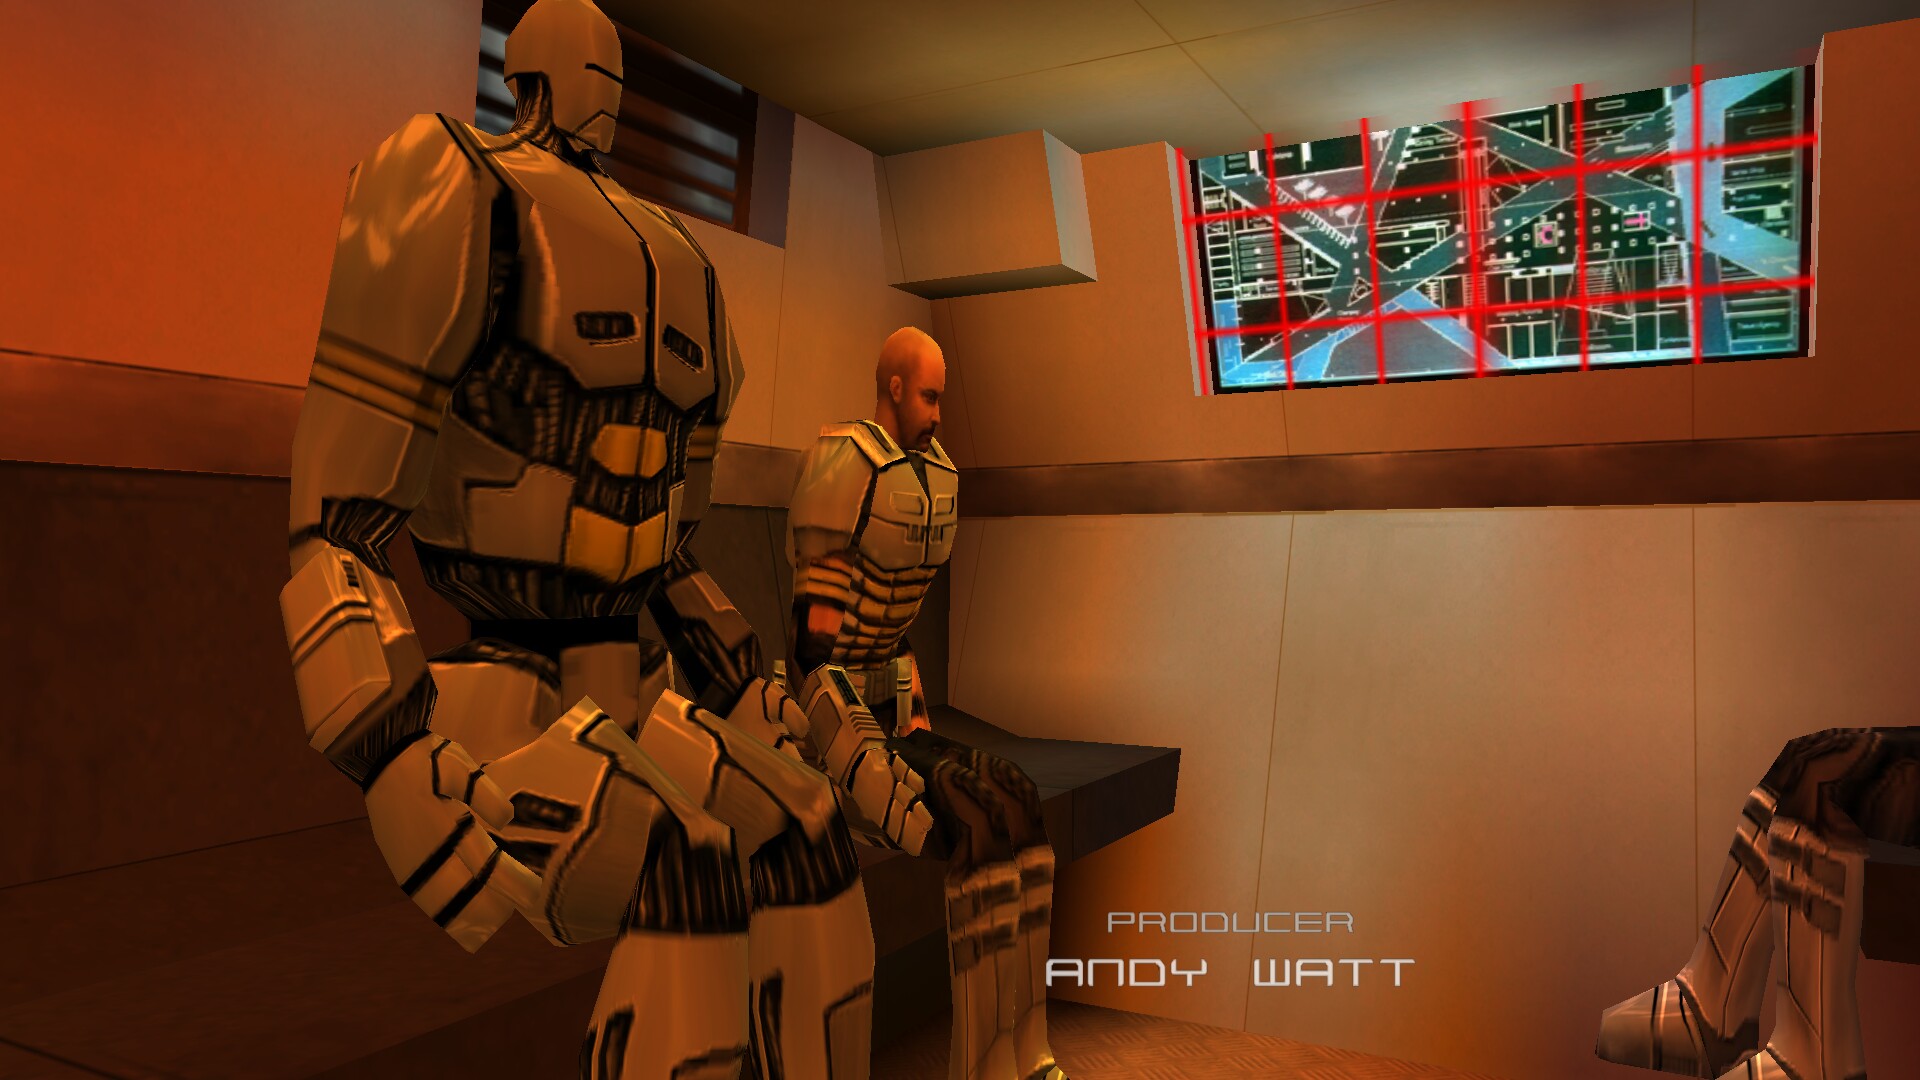
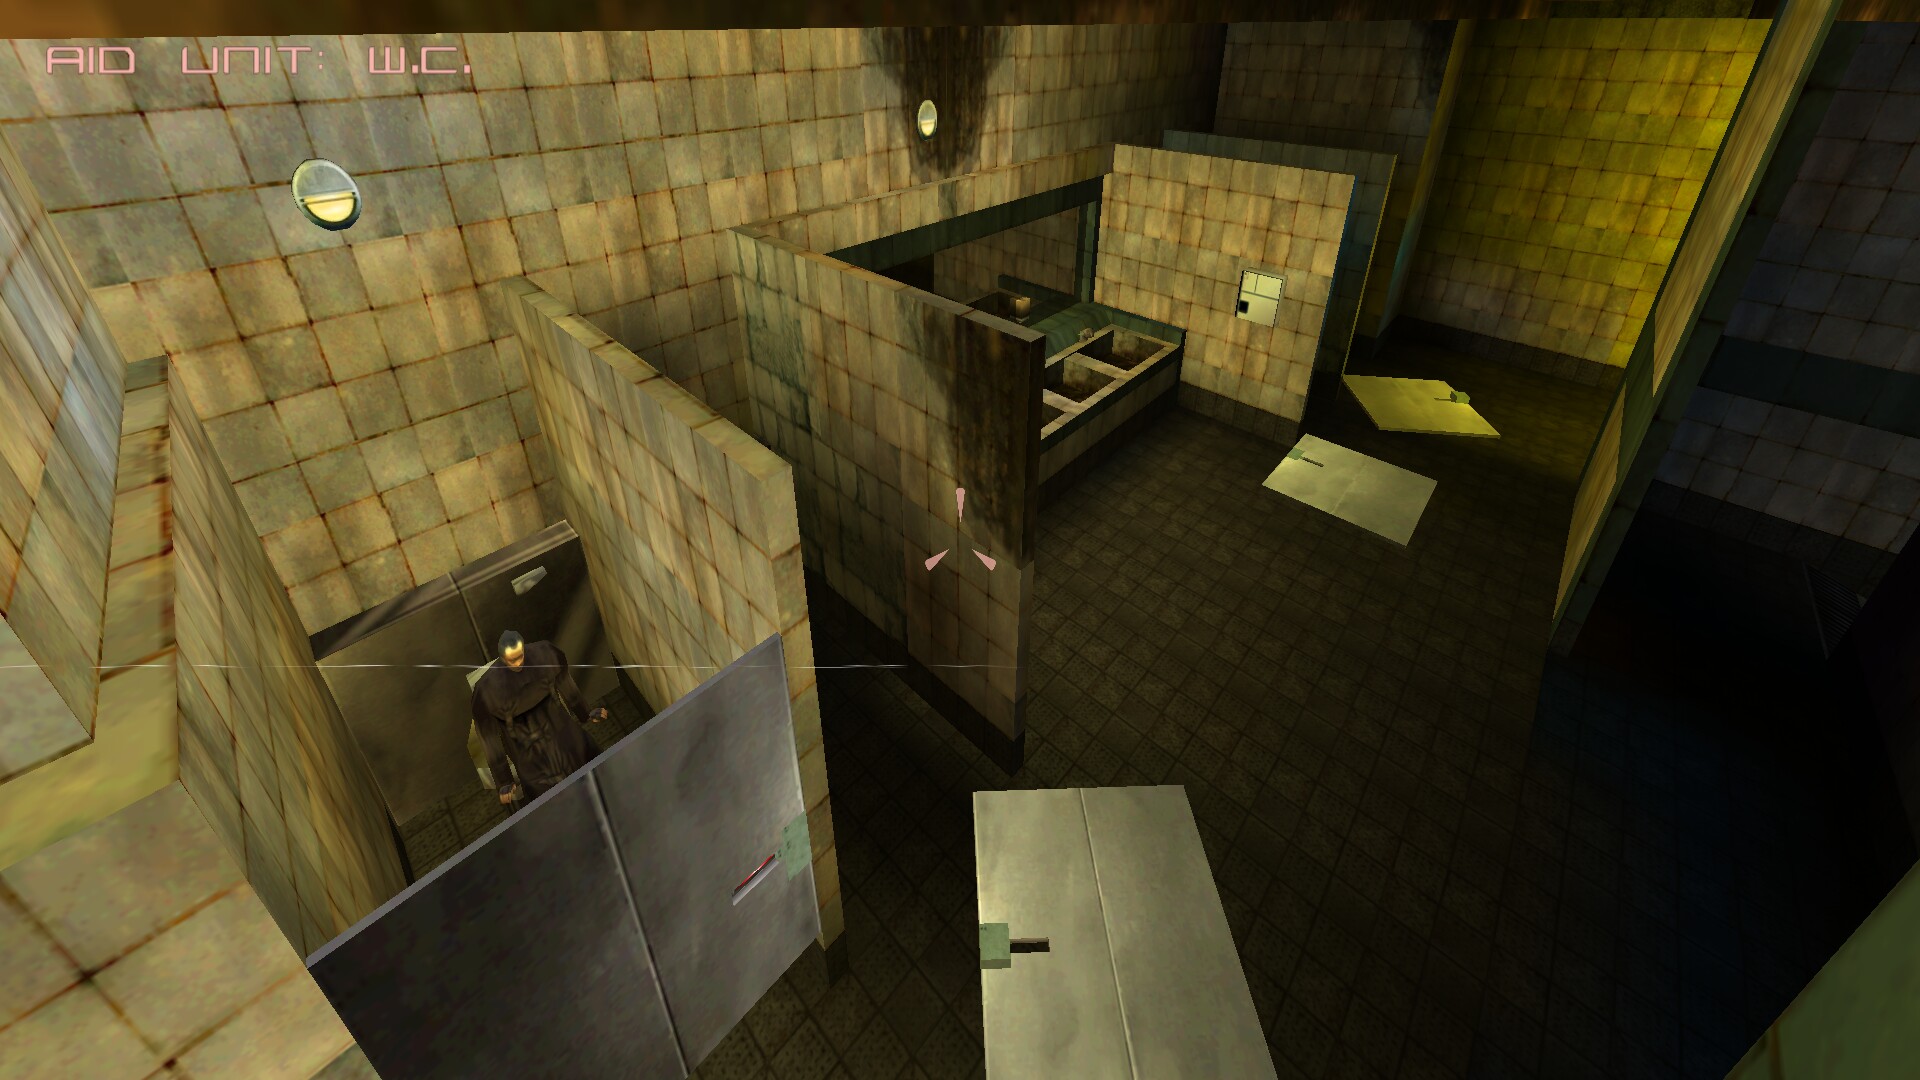
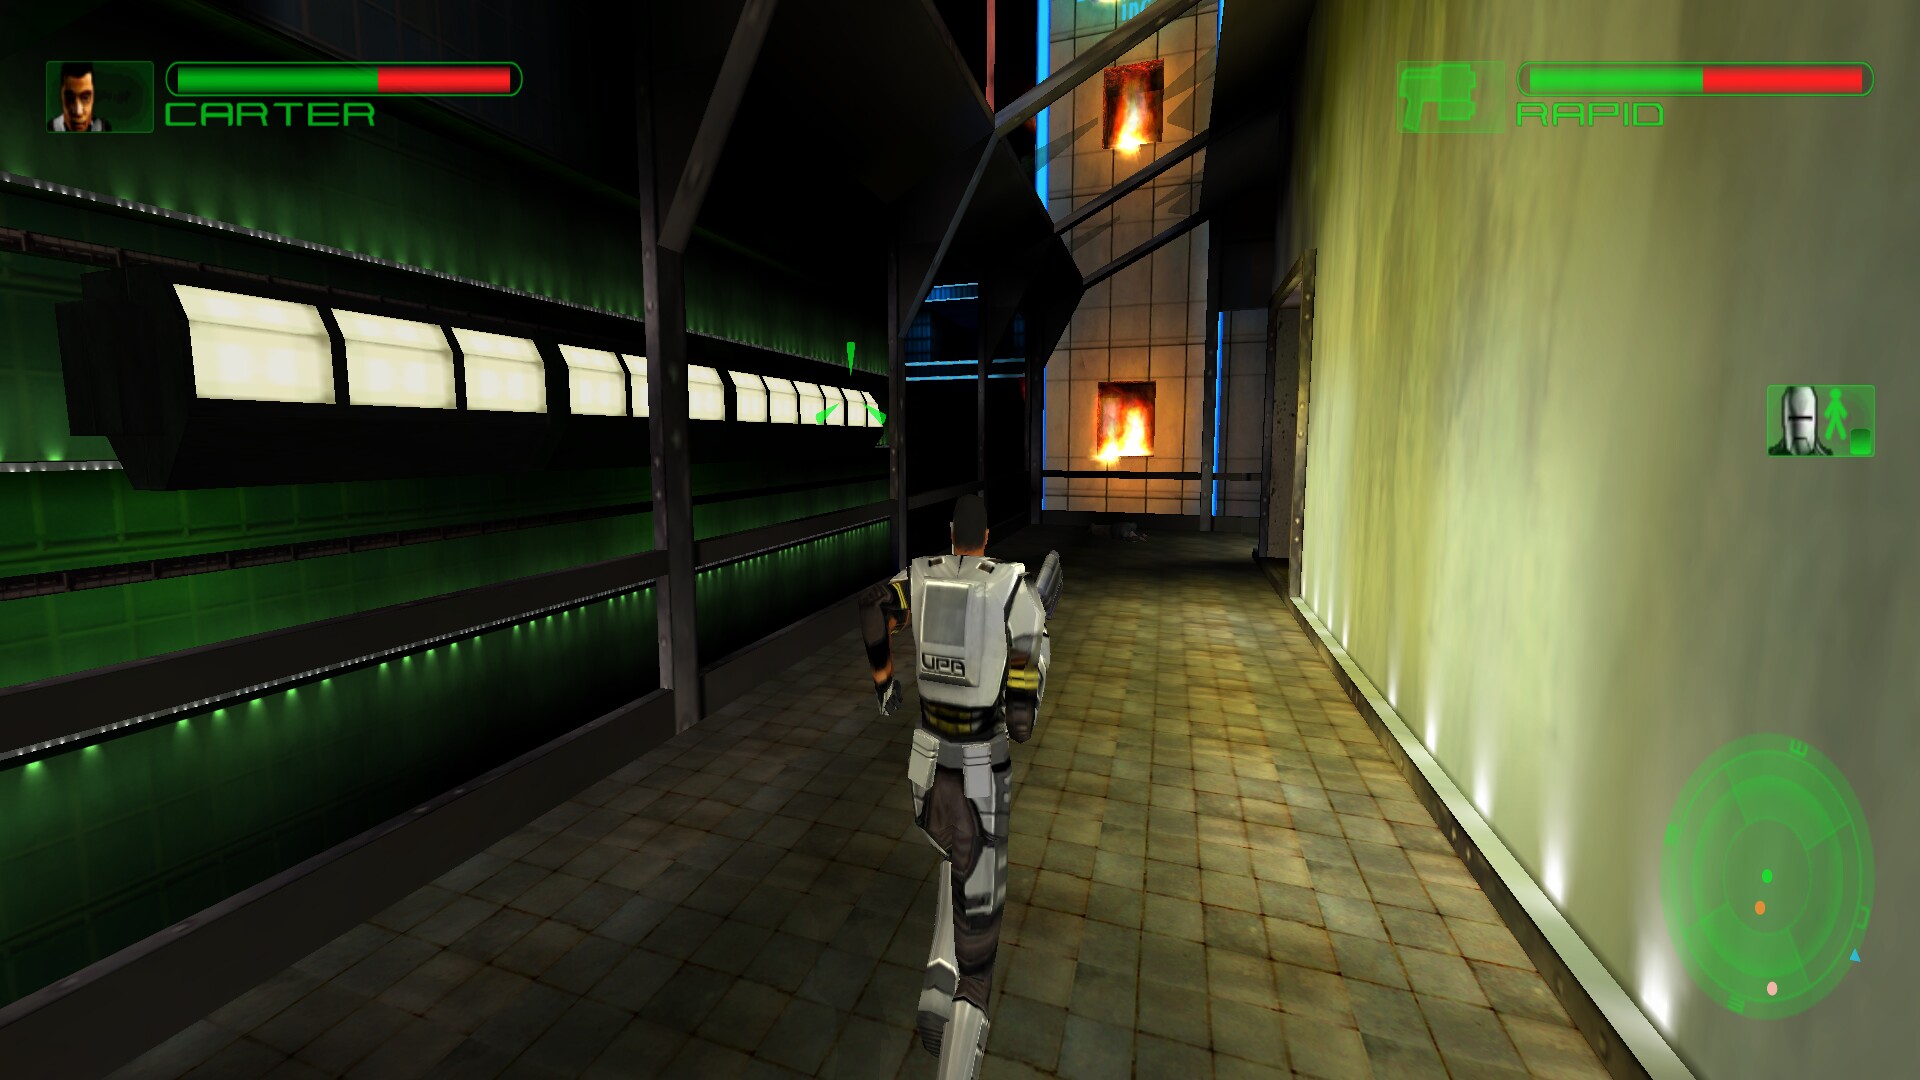
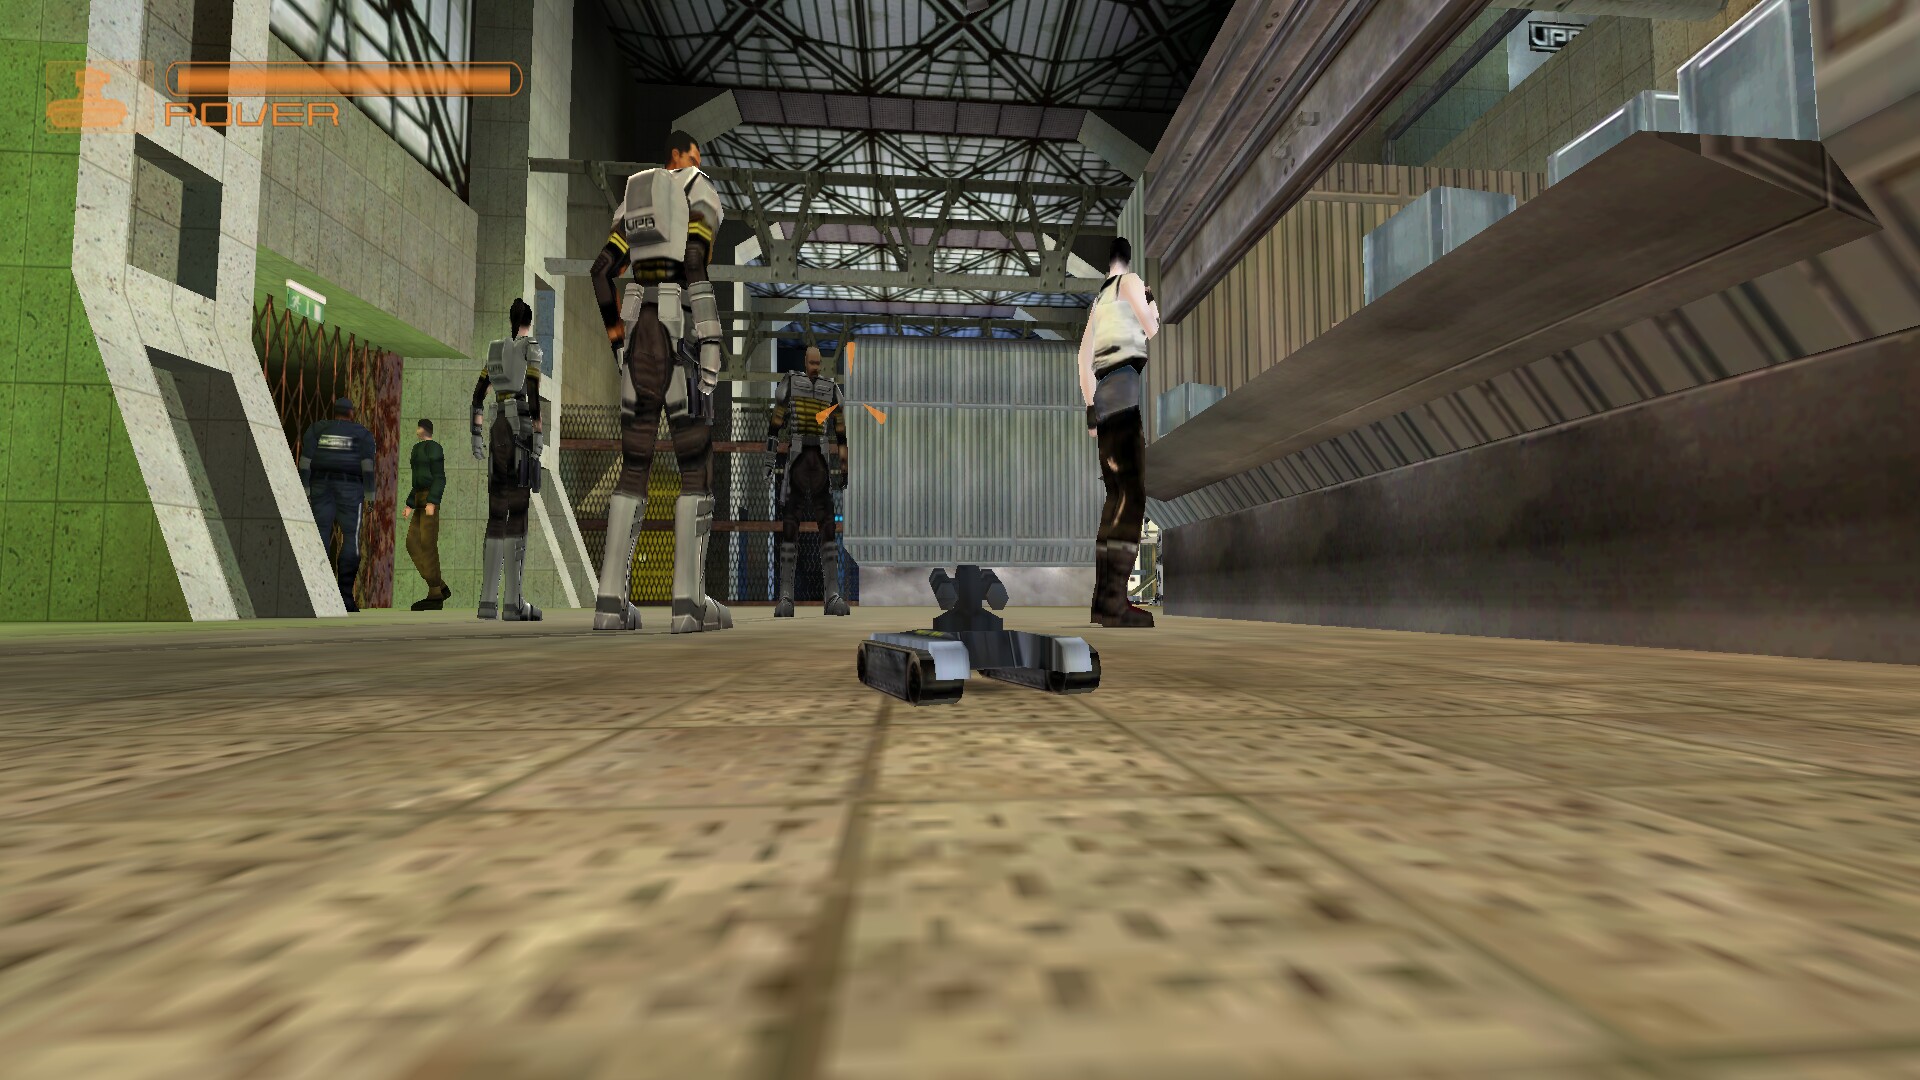
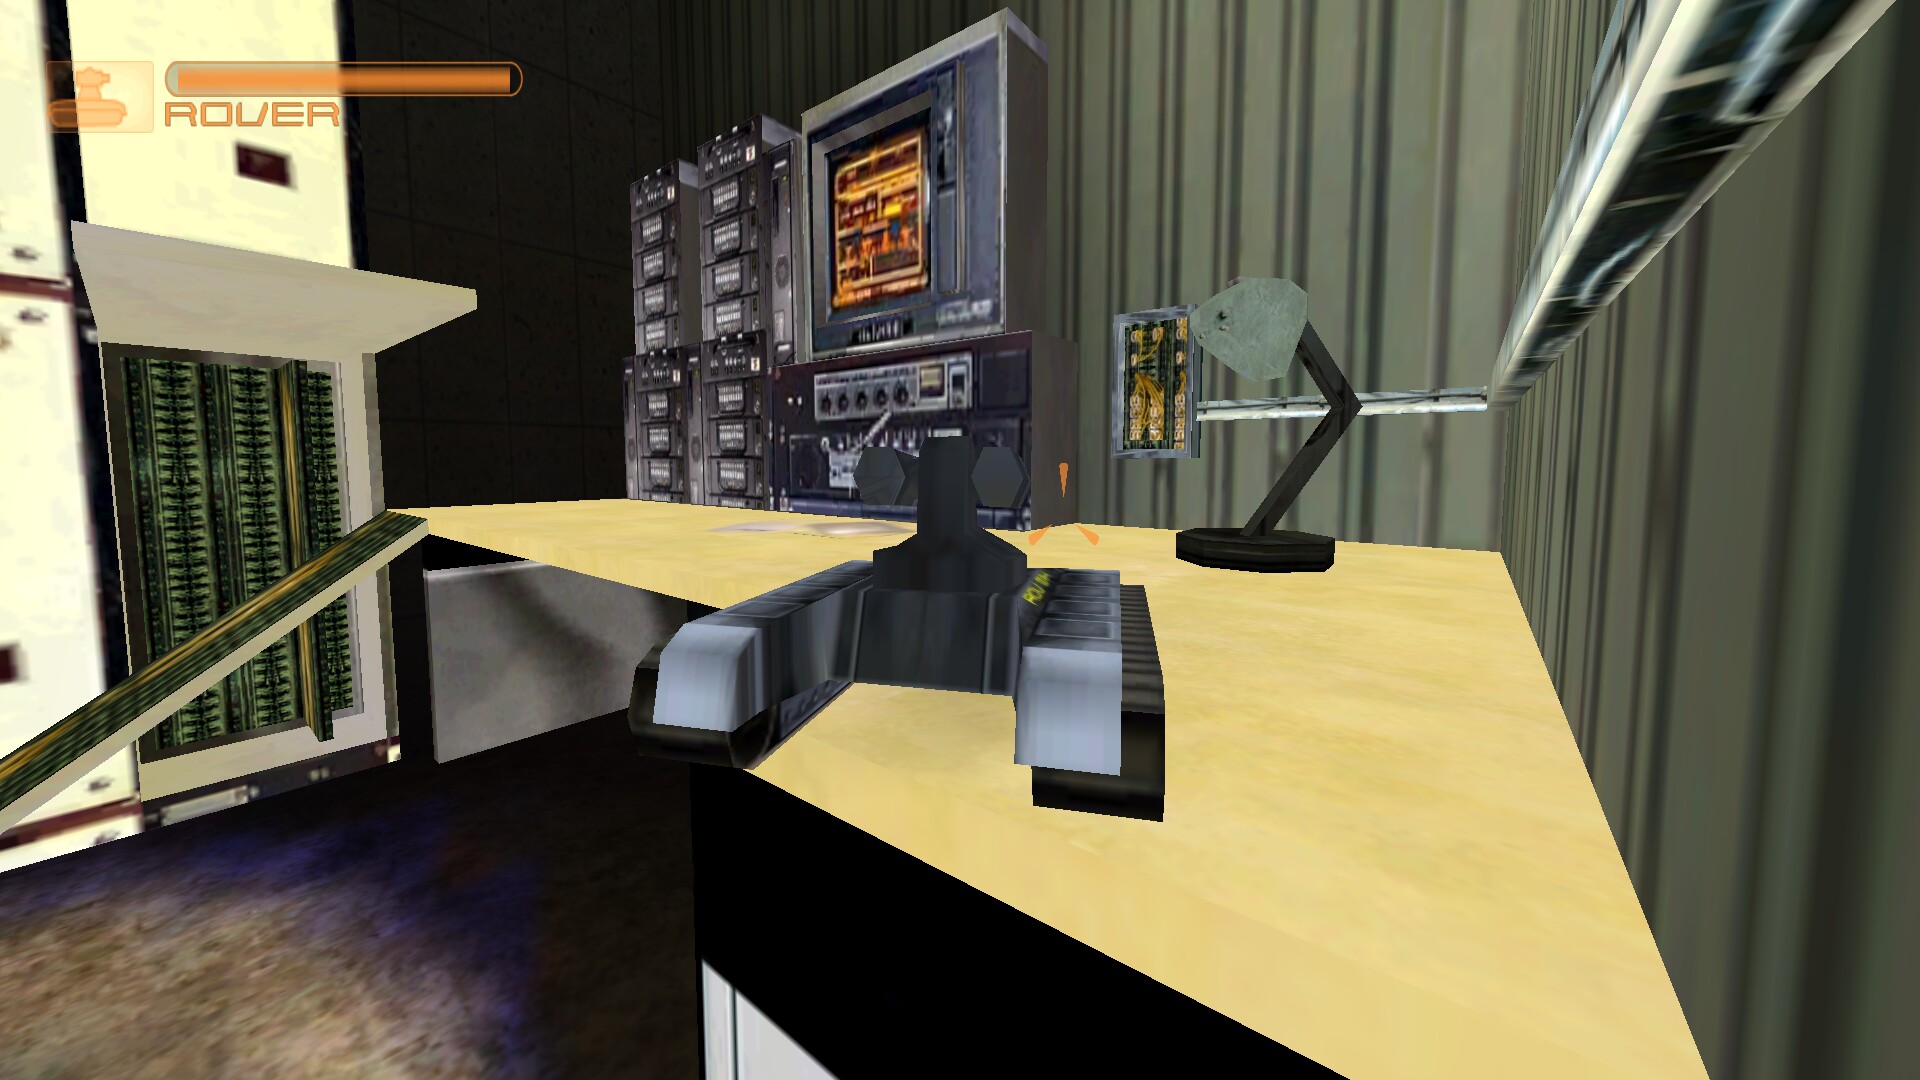
Screenshots:


Comments
Discussion in 'Guides' started by booman, Mar 30, 2018.
XenPorta
© Jason Axelrod from 8WAYRUN.COM